
| Destination weddings are a unique way to tie the knot, and passport wedding invitations can be a creative way to excite your guests for the big day! Thanks to ready-made templates, crafting passport invitations is easy and fun — read on for step-by-step instructions for DIYing passport wedding invitations for your destination wedding! |
As you and your fiancé prepare for a beautiful destination wedding, what better way to set the tone than with a unique invitation? Get ready to craft an unforgettable passport-style wedding invitation that will have your guests packing their bags in anticipation! You can create an eye-catching invite for your special day with just a few simple steps. Let's get started!
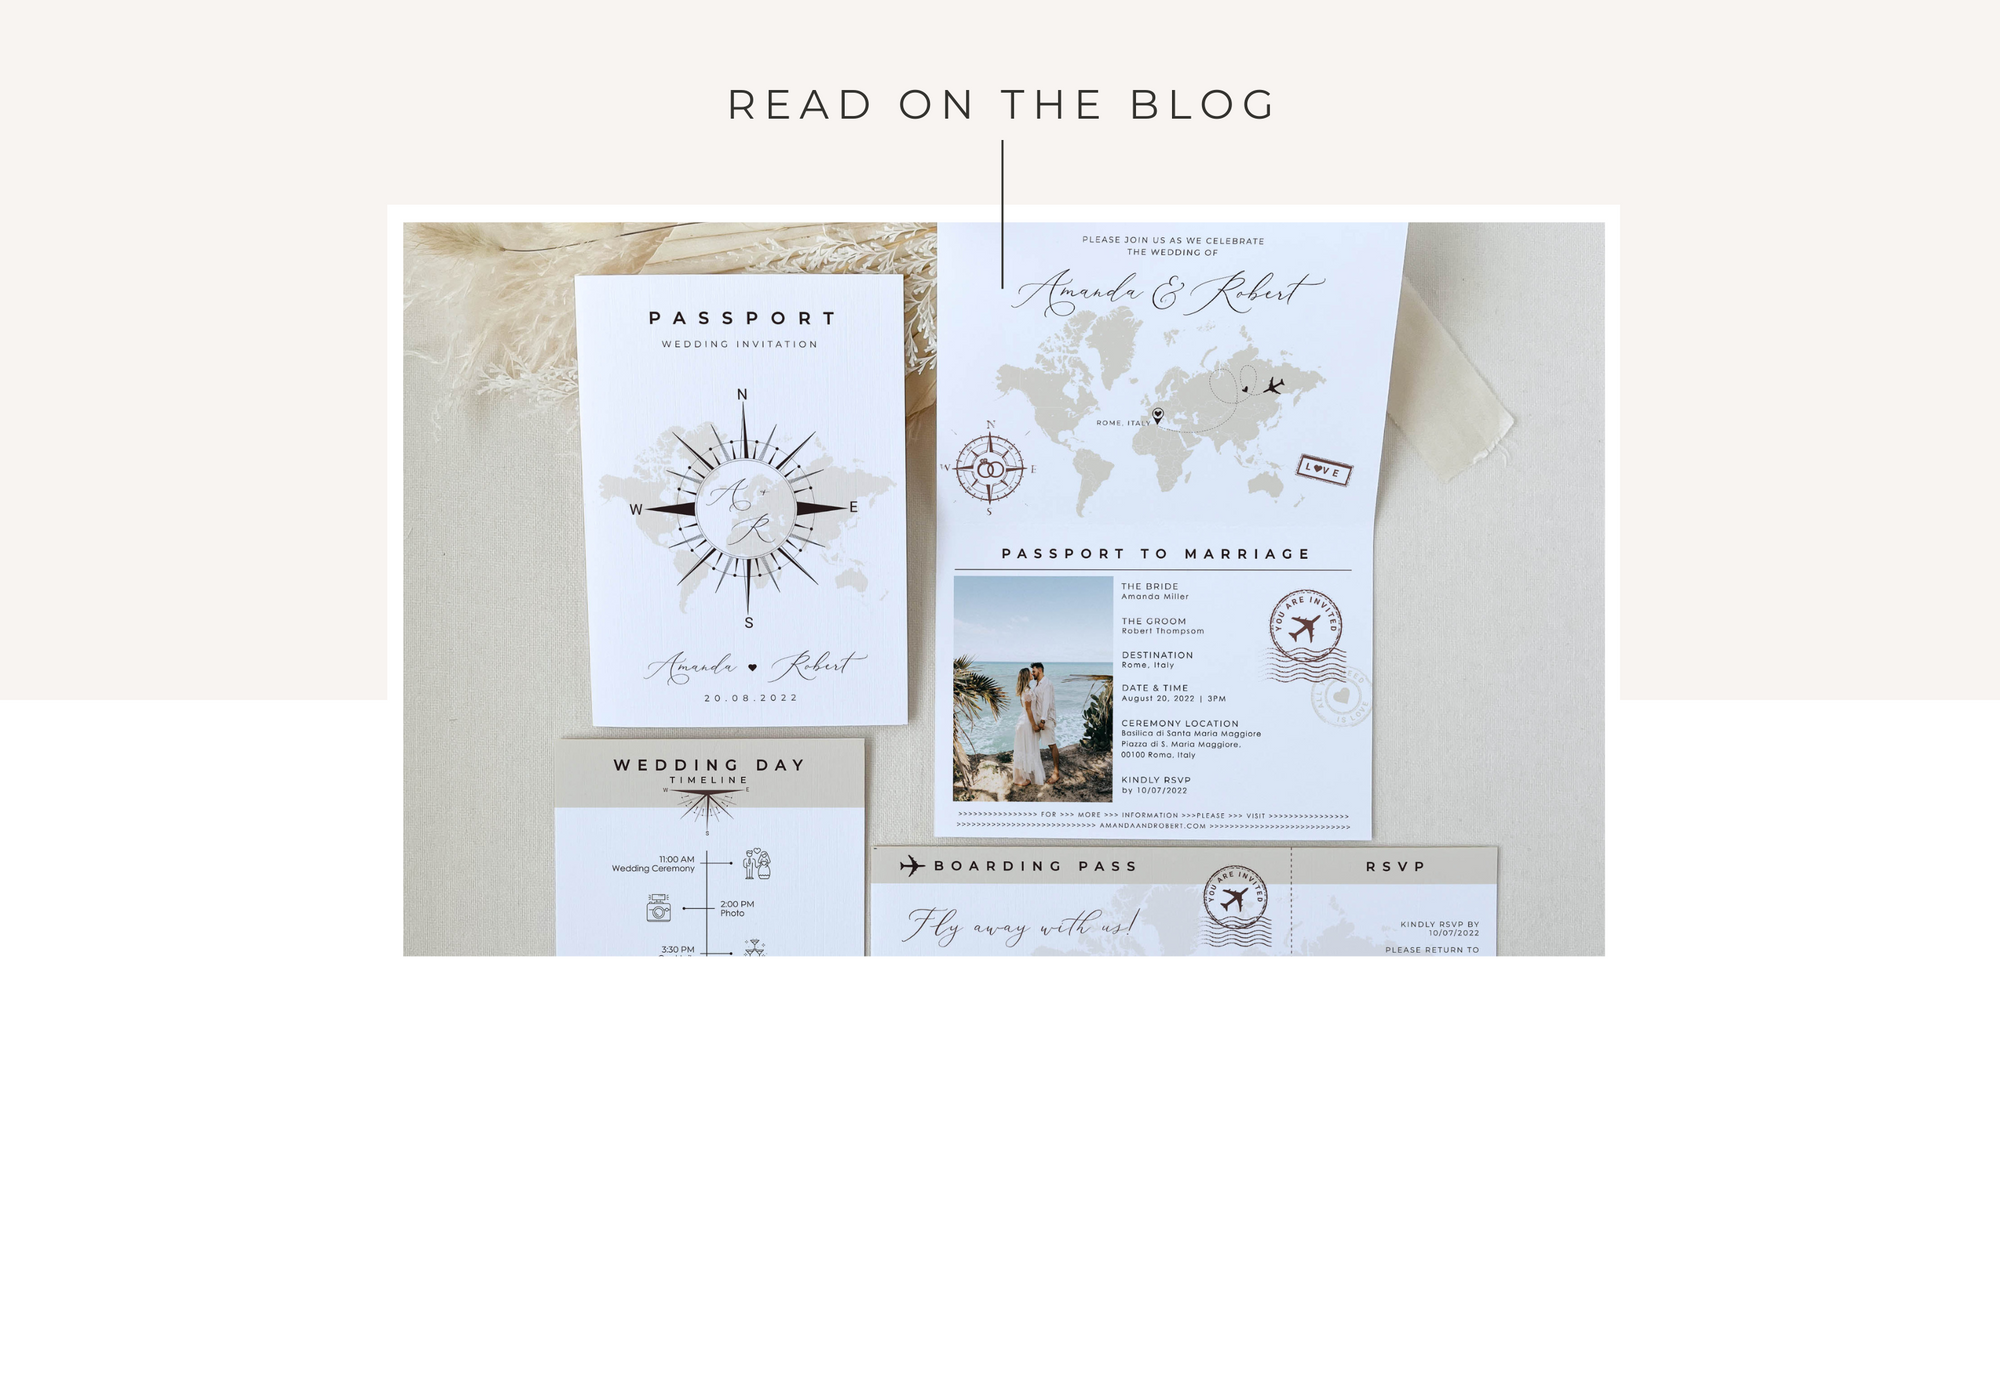
Step 1: Choose a Passport Wedding Invitation Template to Suit Your Theme and Style
At Creative Things Studio, we have an extensive range of travel-theme wedding invitations for you to choose from. From classic and elegant designs to fun and vibrant ones, there's something for every taste and theme. So browse our collection of passport wedding invitation templates and pick the invitation that best matches your wedding colours or personal style.
For this tutorial, I will use our best-seller Sofia Passport Wedding Invitation Template, which features a sand colour palette and can be completely personalized to match your specific wedding theme.
Step 2: Gather Your Supplies
You will need some basic supplies to start crafting your passport-style wedding invitations. These include:
- Wedding Invitation Template
- White Cardstock stock 220 gsm / 110lb
- Paper Trimmer
- Metal Ruler
- Bone Folder Scorer
- Envelopes
- Ivory White Chiffon Silk Ribbon 1"
If you are printing with a professional printing centre, you will only need ribbons and envelopes.
Note: This post includes links to affiliate products for which I may receive a small commission if you make a purchase.
Step 3: Personalize Your Invitation in the Online Editor Corjl
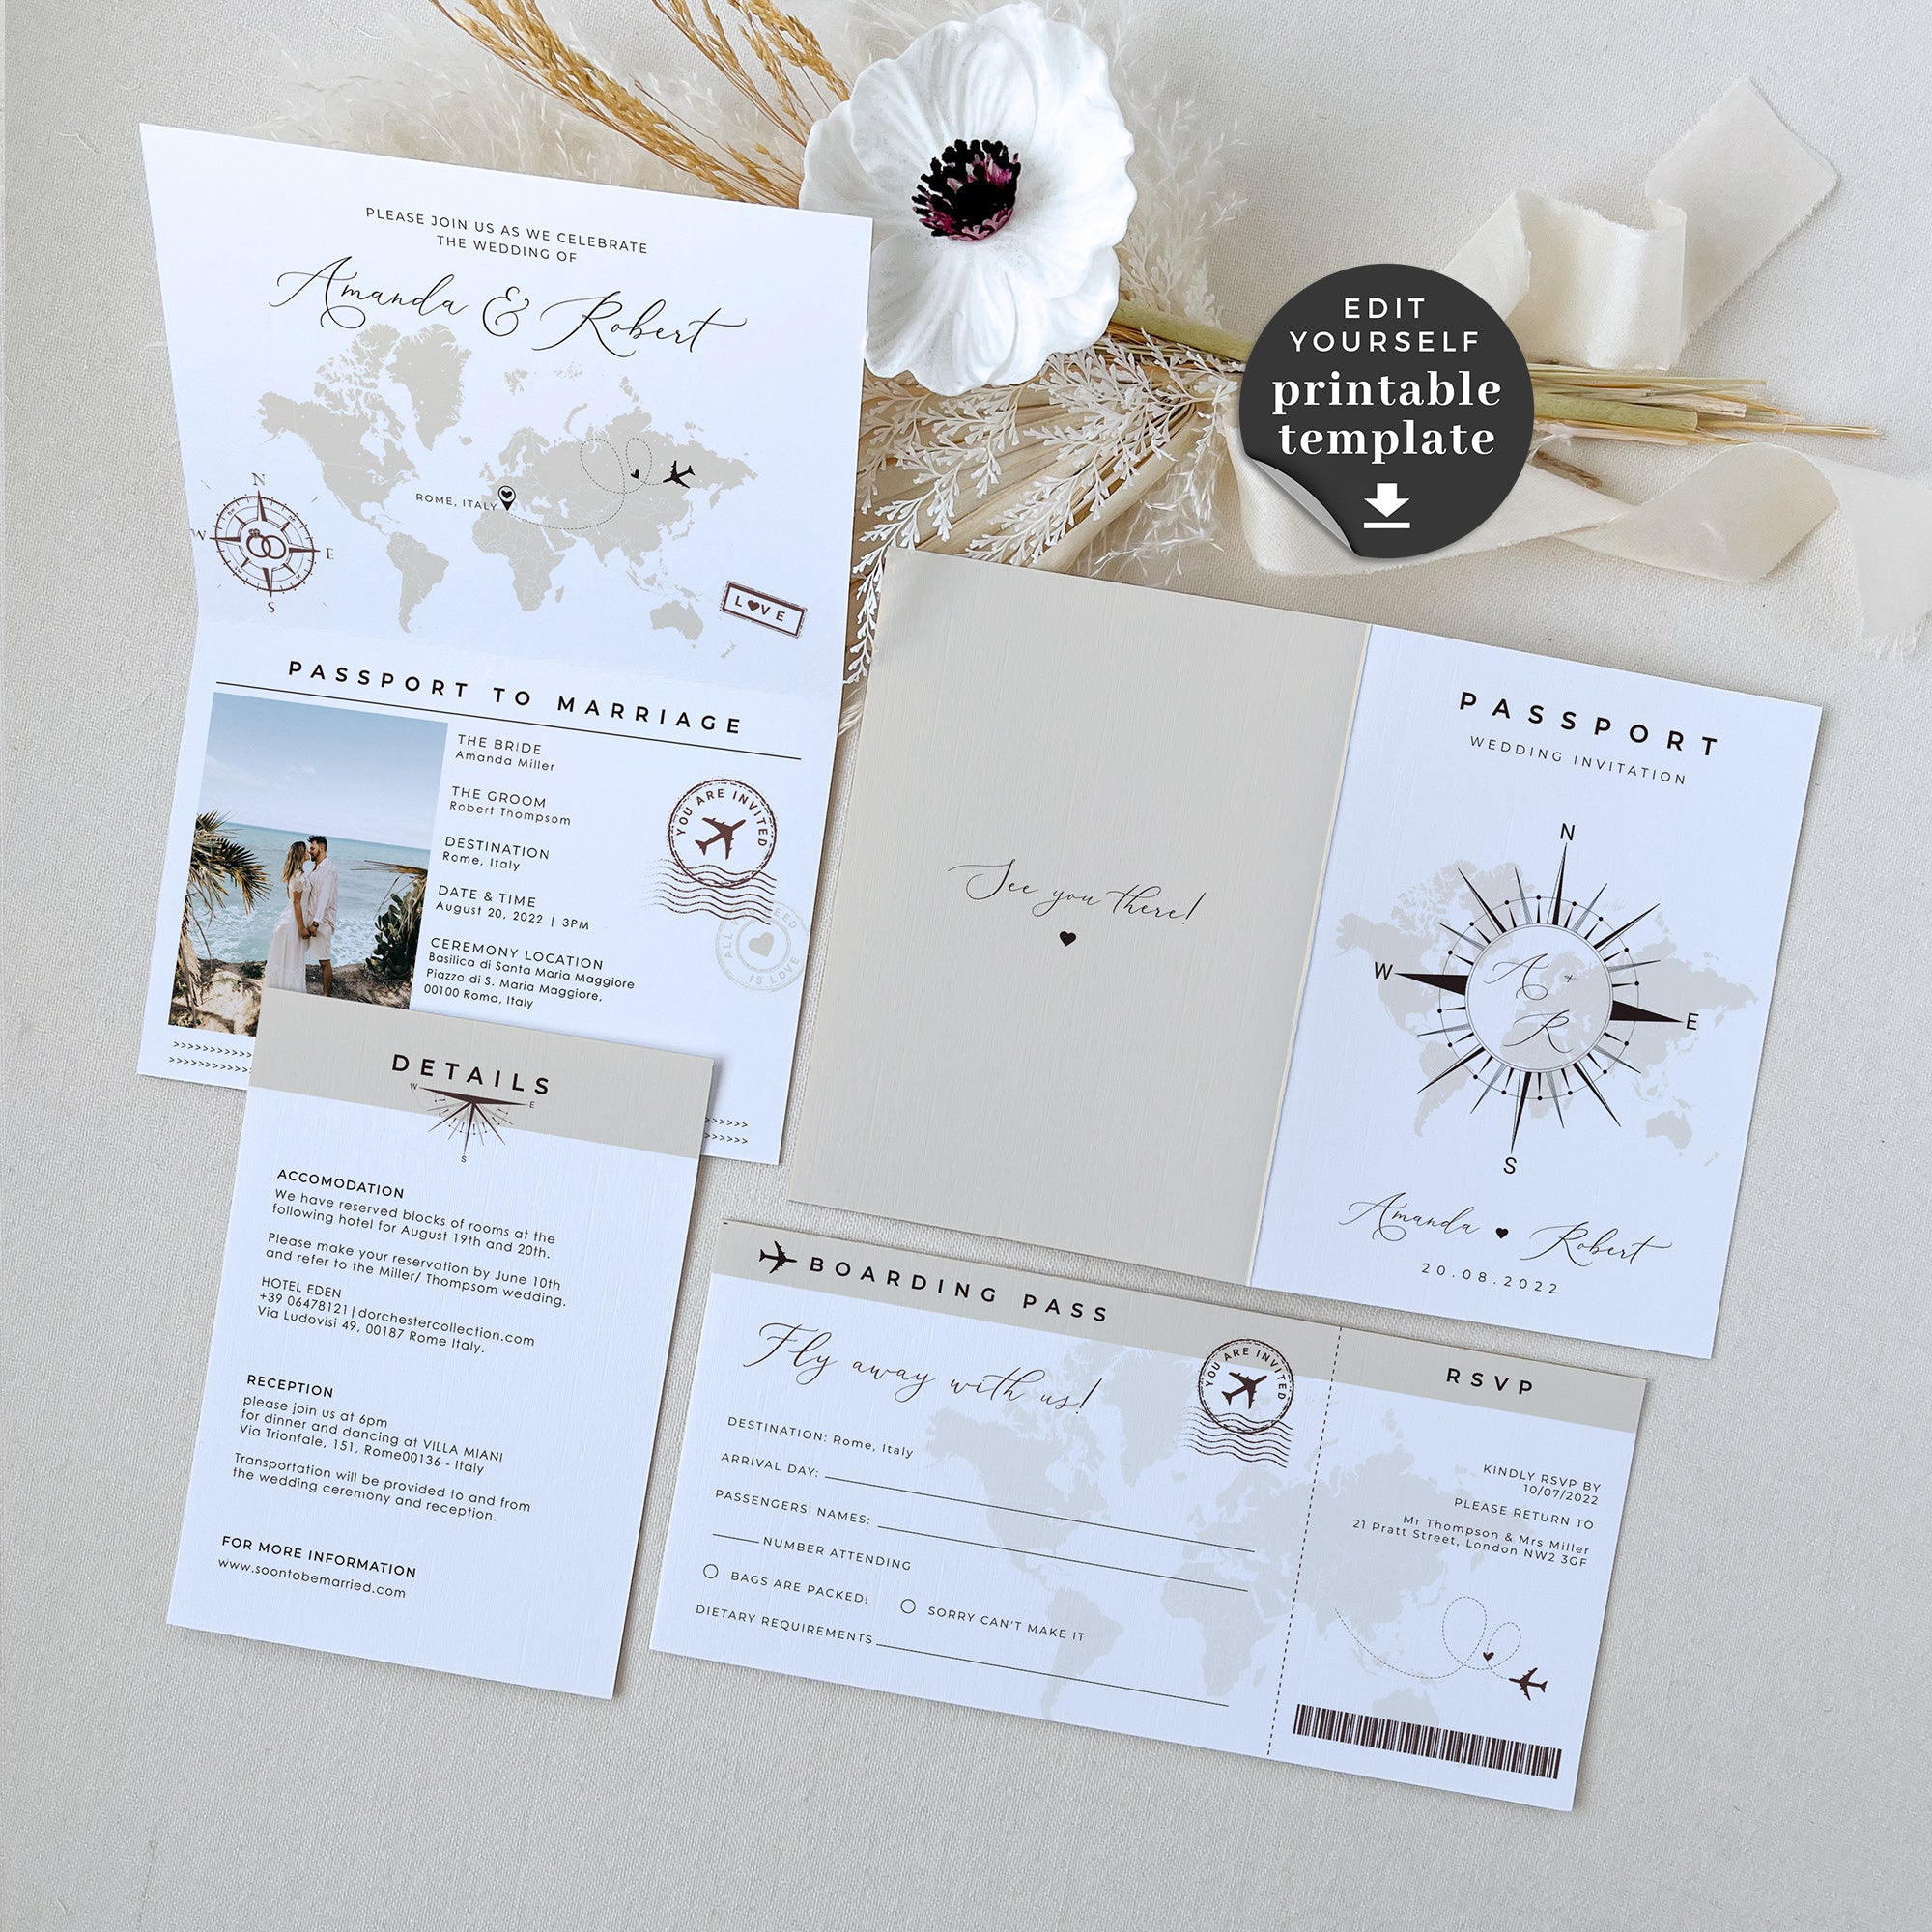
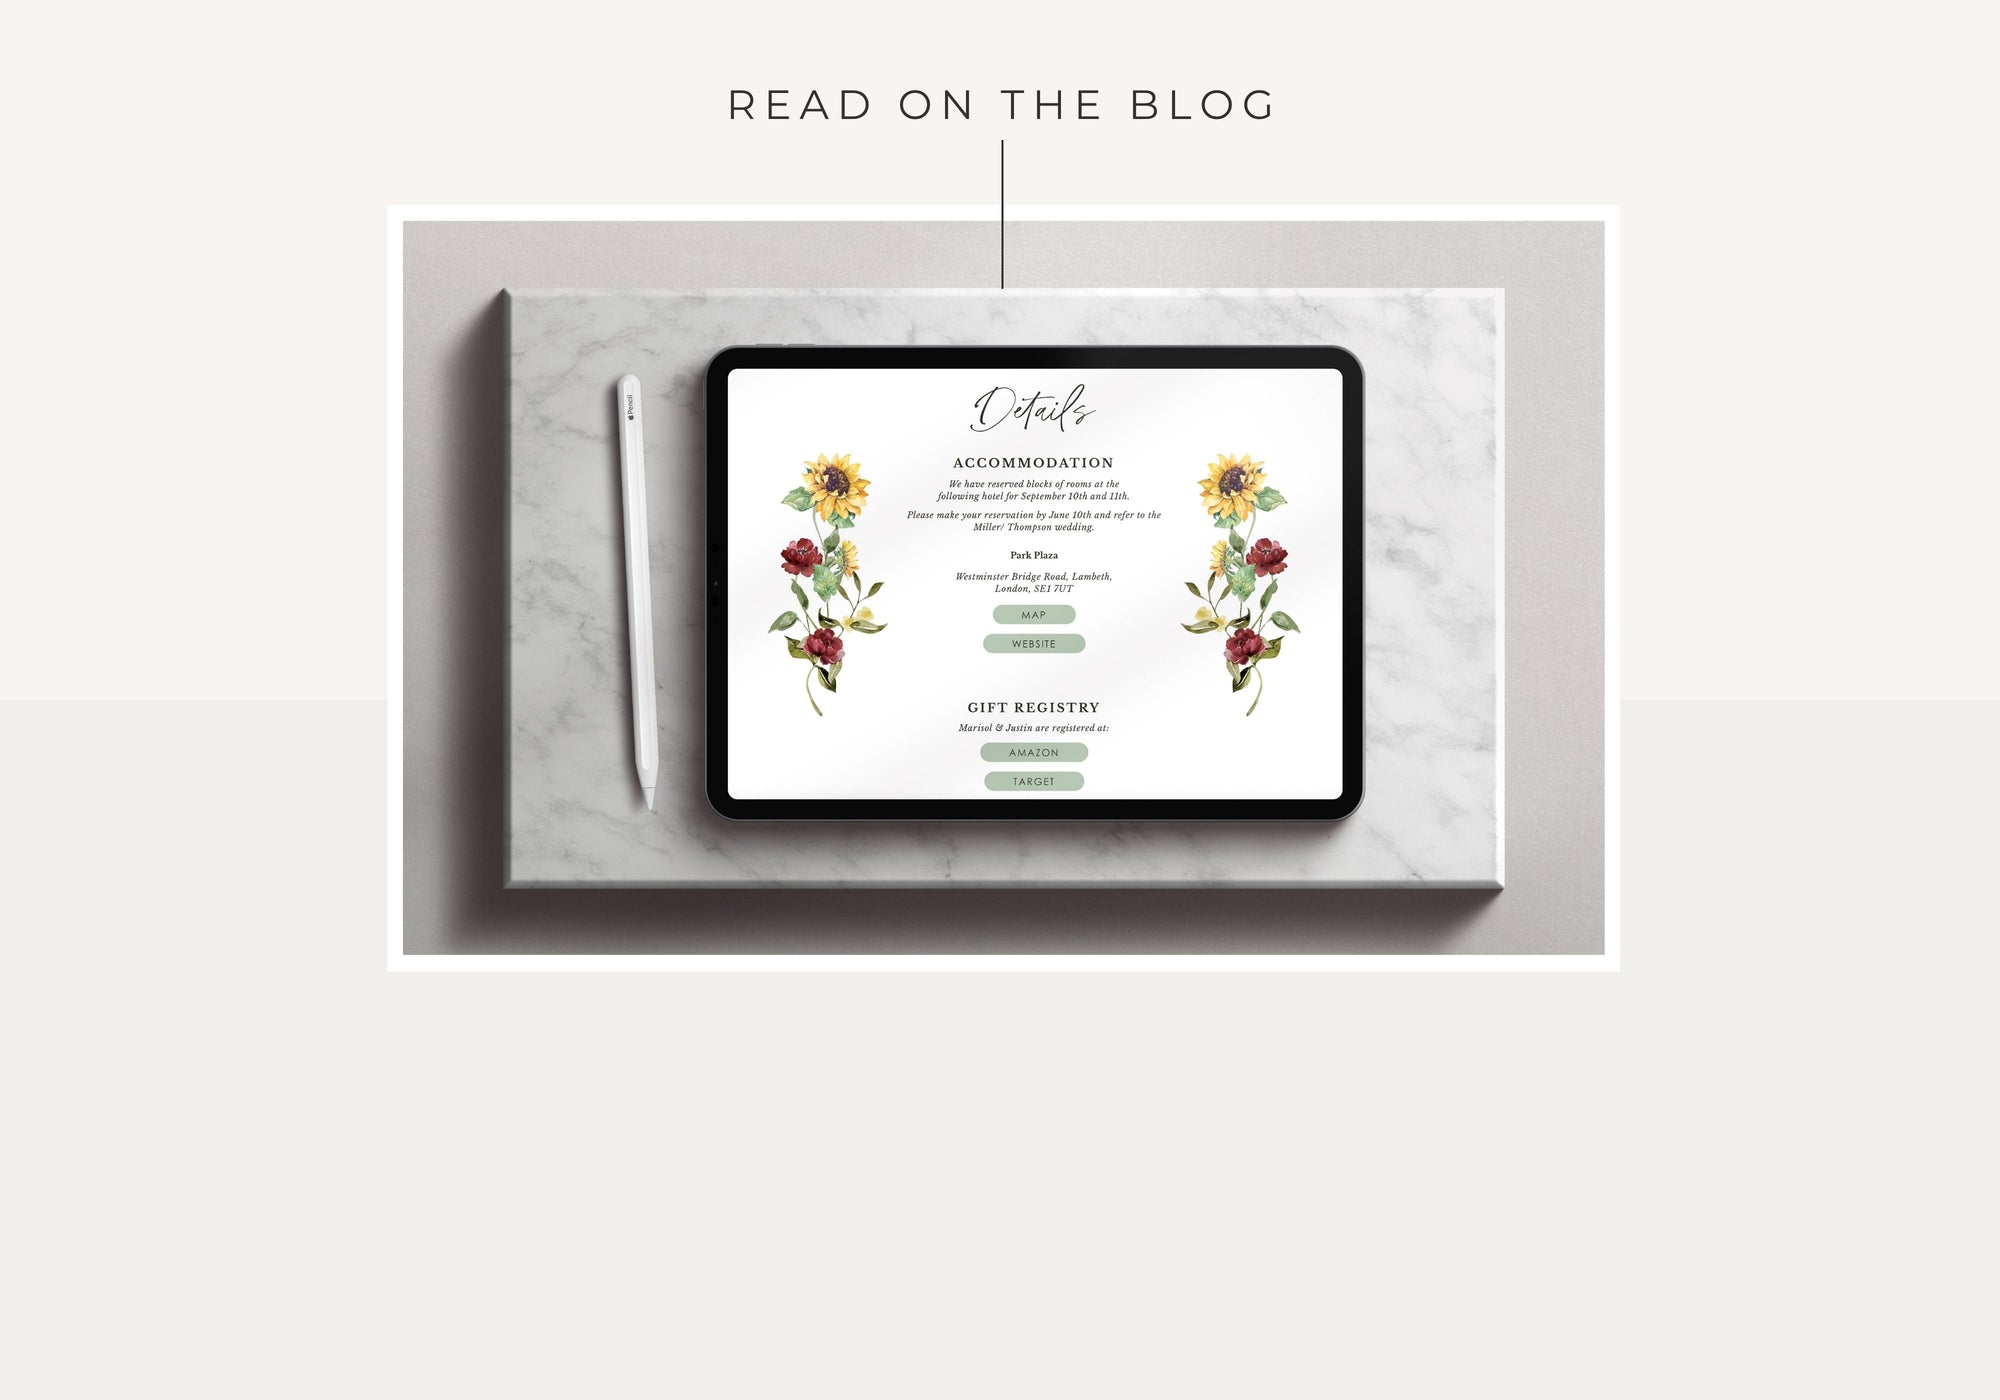
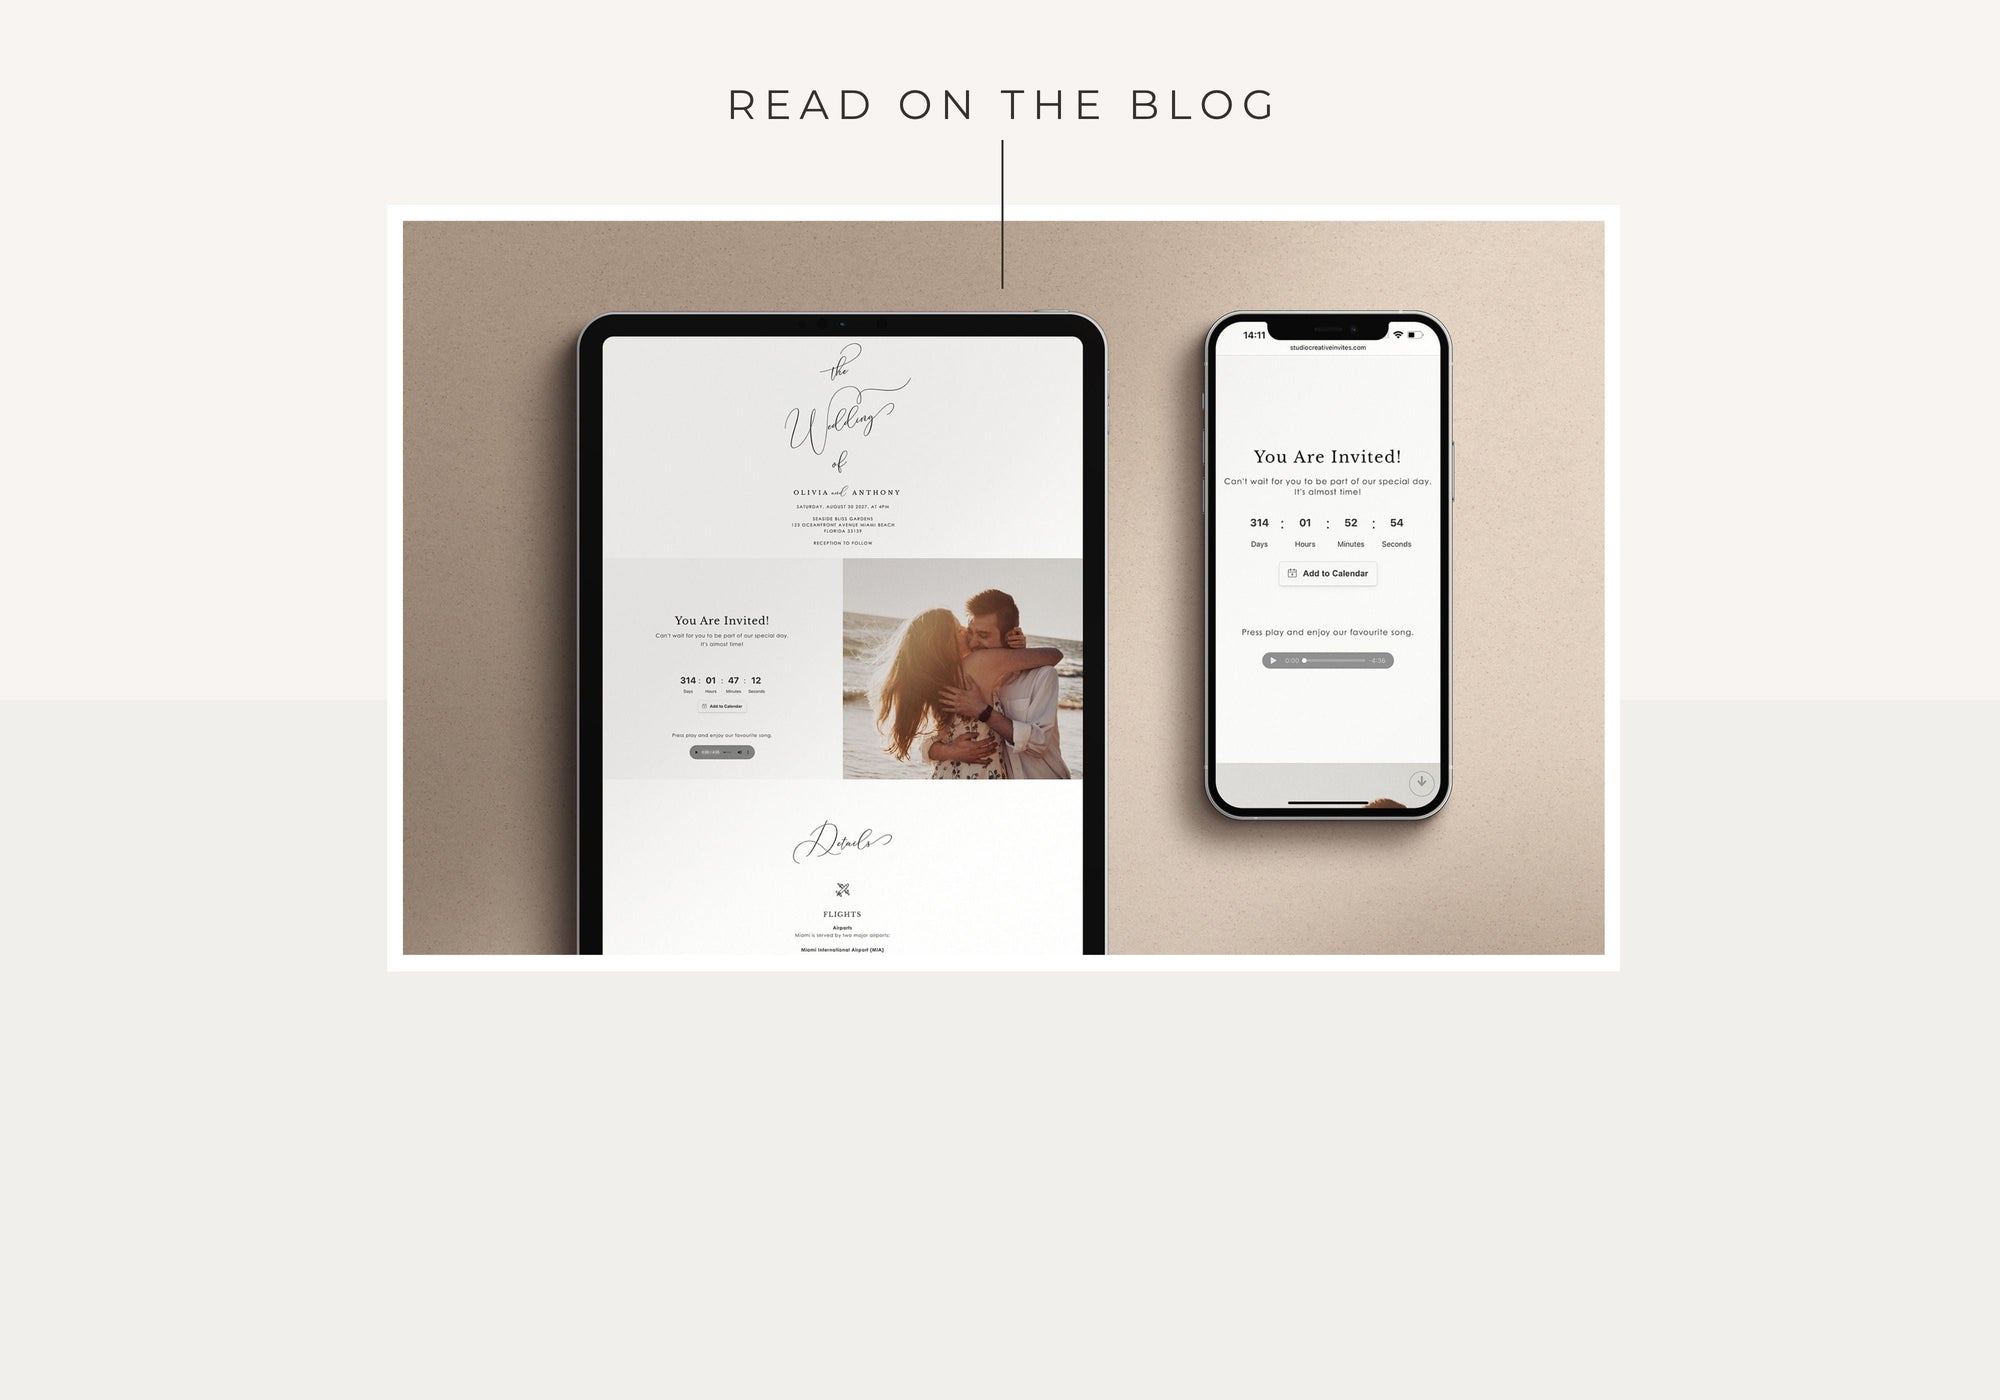
Now it's time to get creative! Our invitation templates are easily customizable in the online editor Corjl, so you can tailor the words, fonts and colours to make it one of a kind. You can also add your own photo and decorations, like a map with your destination location and travel stamps.
If you'd like to get the scoop on how to customize and adjust your invitation using Corjl, watch the videos below for detailed instructions.
Step 4: Download & Print Your Invitations
Once you've designed your passport wedding invitation, it's time to download it and print it out.
Choose the settings below depending on whether you print from home, your local print centres like Staples or Costco or a professional printing center like Prints of Love.
Printing w/ Prints of Love (or Printed.com, Vistaprint)
- File Format: PDF
- Paper Size: Design Default Size
- Page#: All
- Show Bleed: Selected
Printing at home ( or local print centre if printing on A4 / 8.5 x 11")
- File Format: PDF
- Paper Size: A4 / 8.5 x 11"
- Page#: All
- Show Bleed: Selected
- Show Trim Marks: Selected
- Tile Same Design: Selected
We recommend using a professional printing centre for the best results. If you're based in the US, our shop has partnered with Prints of Love to get high-quality printing at competitive prices, plus free envelopes and 2-3 days shipping. For the UK, we recommend Printed.com. You can print with Vista Print or any other online or local printing centre for other countries.
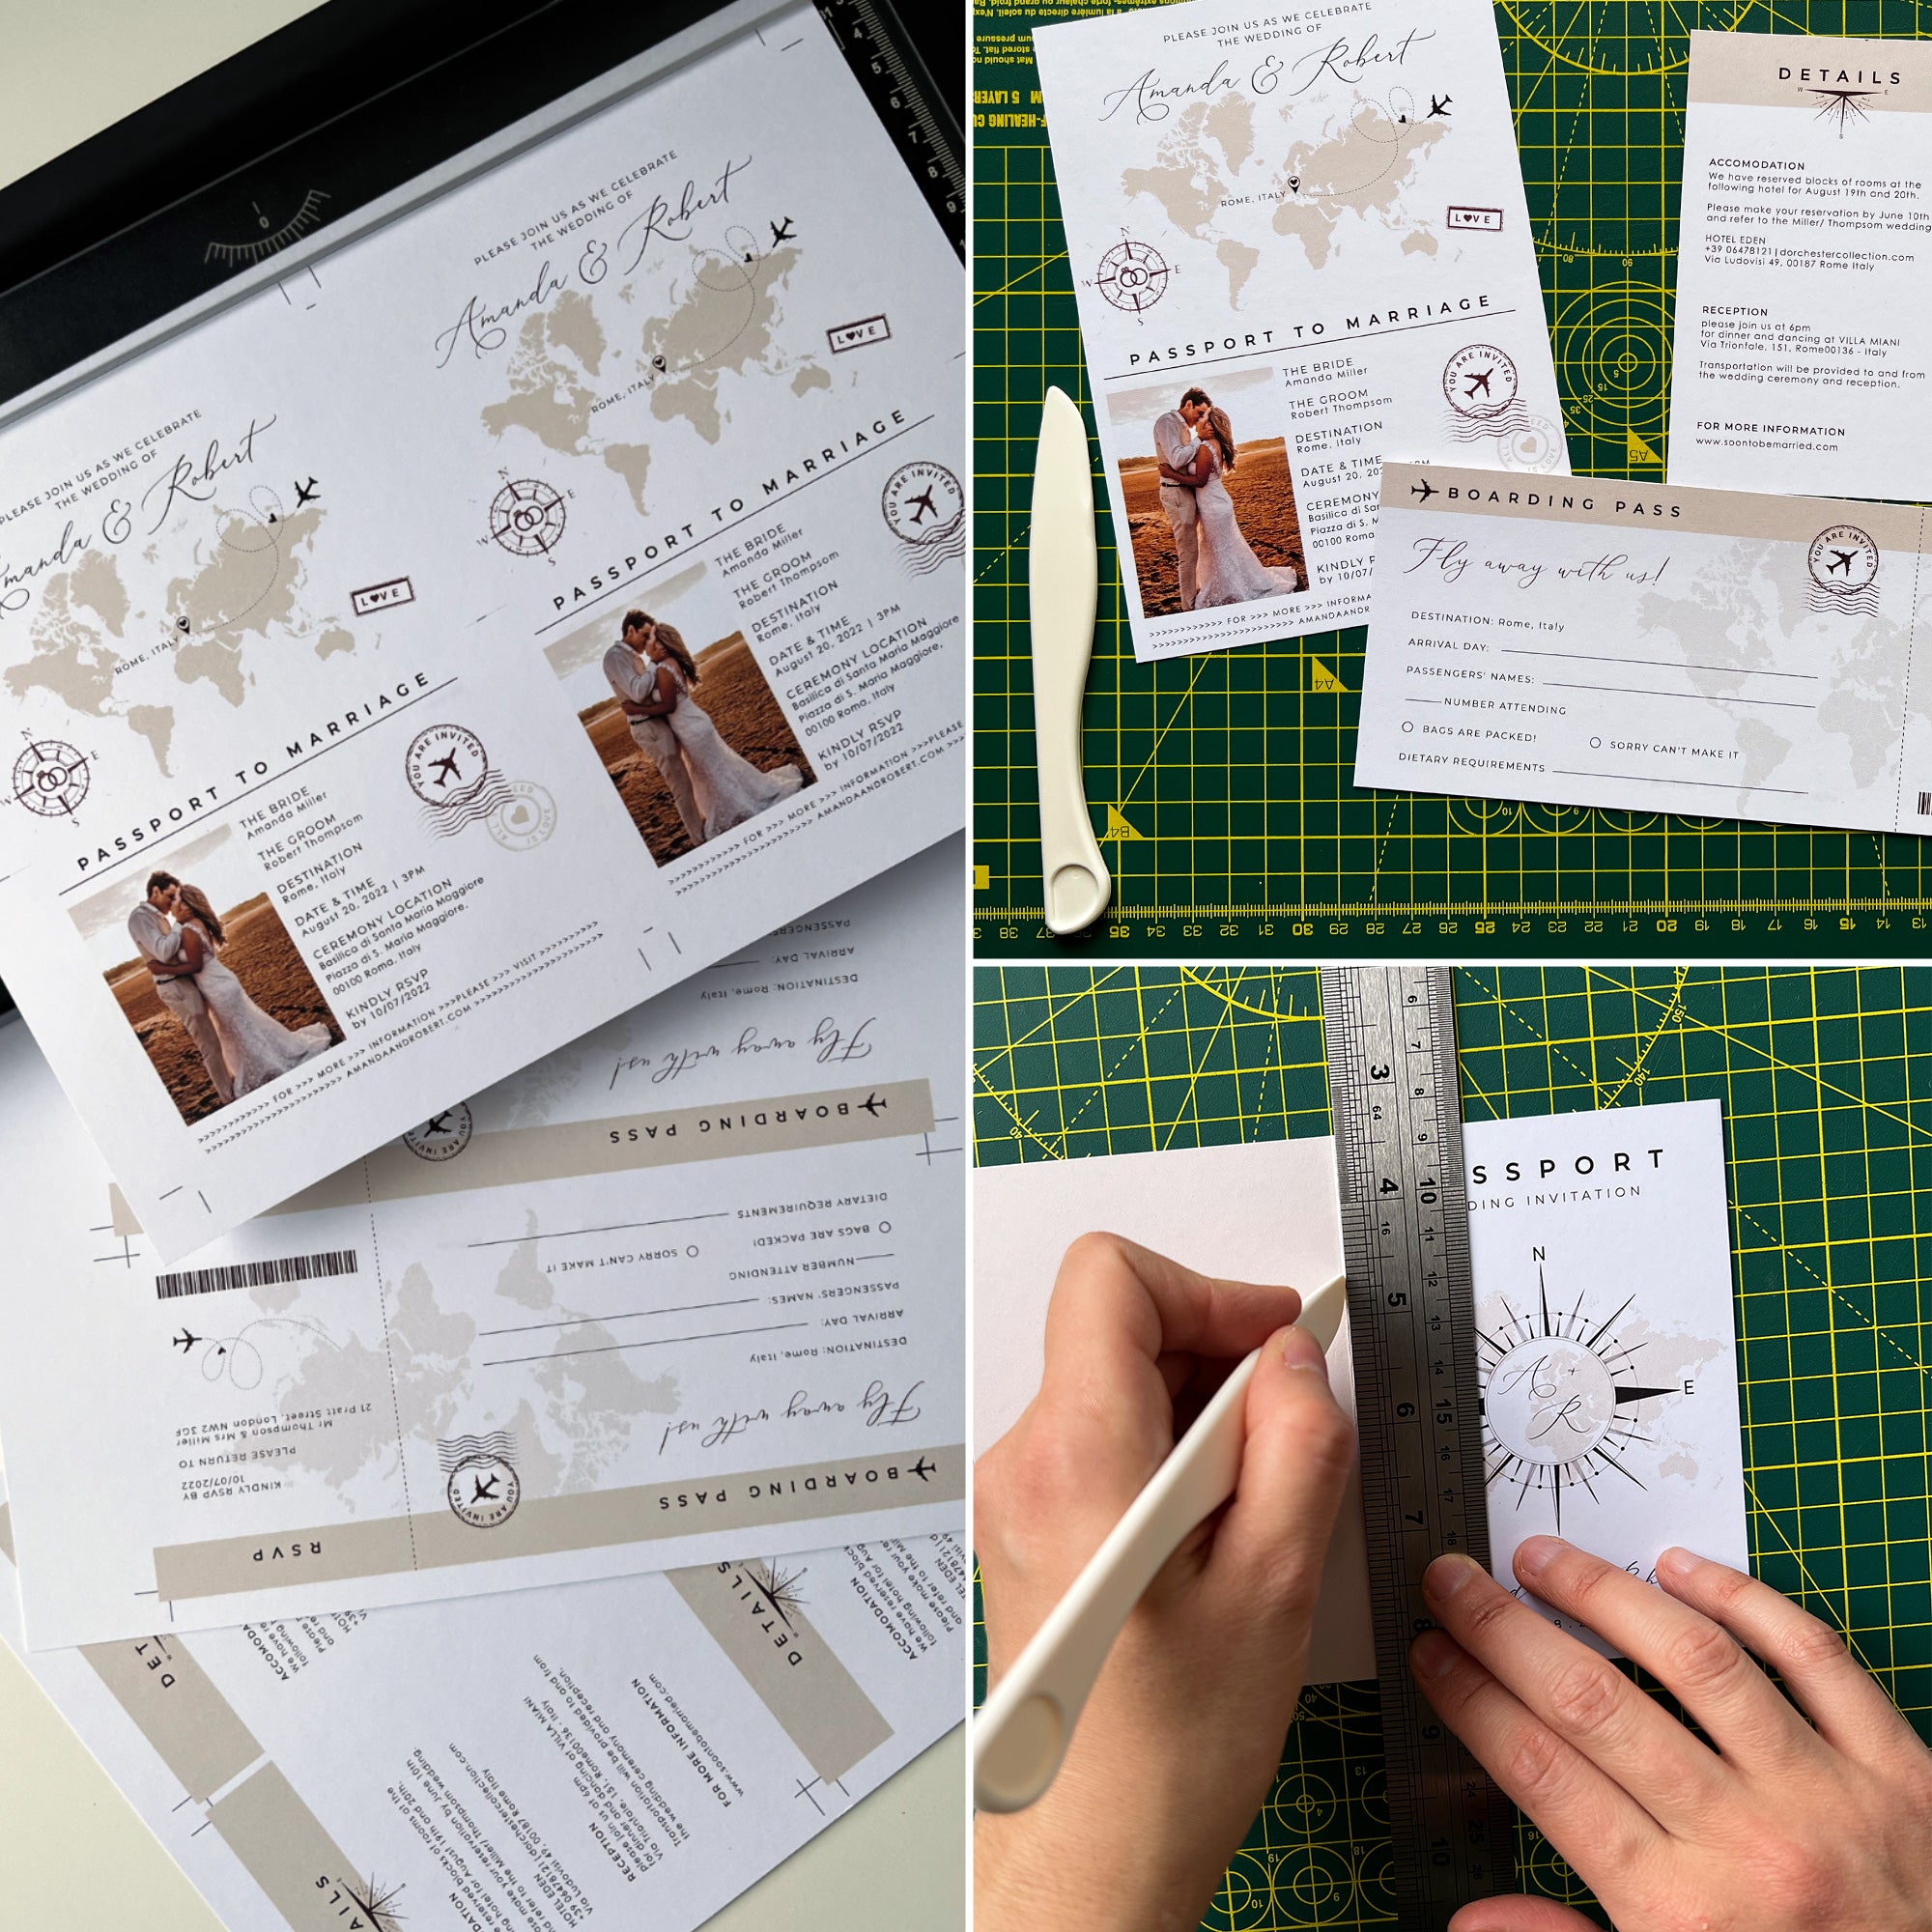
Step 5: Trim & Fold Your Invitations
If you are printing from home, you will need to trim your cards following the trim mark on the sheet. To get perfectly clean edges, use the paper trimmer!
After that, fold your cards with a bone folder scorer to avoid creating creases on the paper while folding, so score a line in the middle of the card and fold it on the bumpy side of the line.
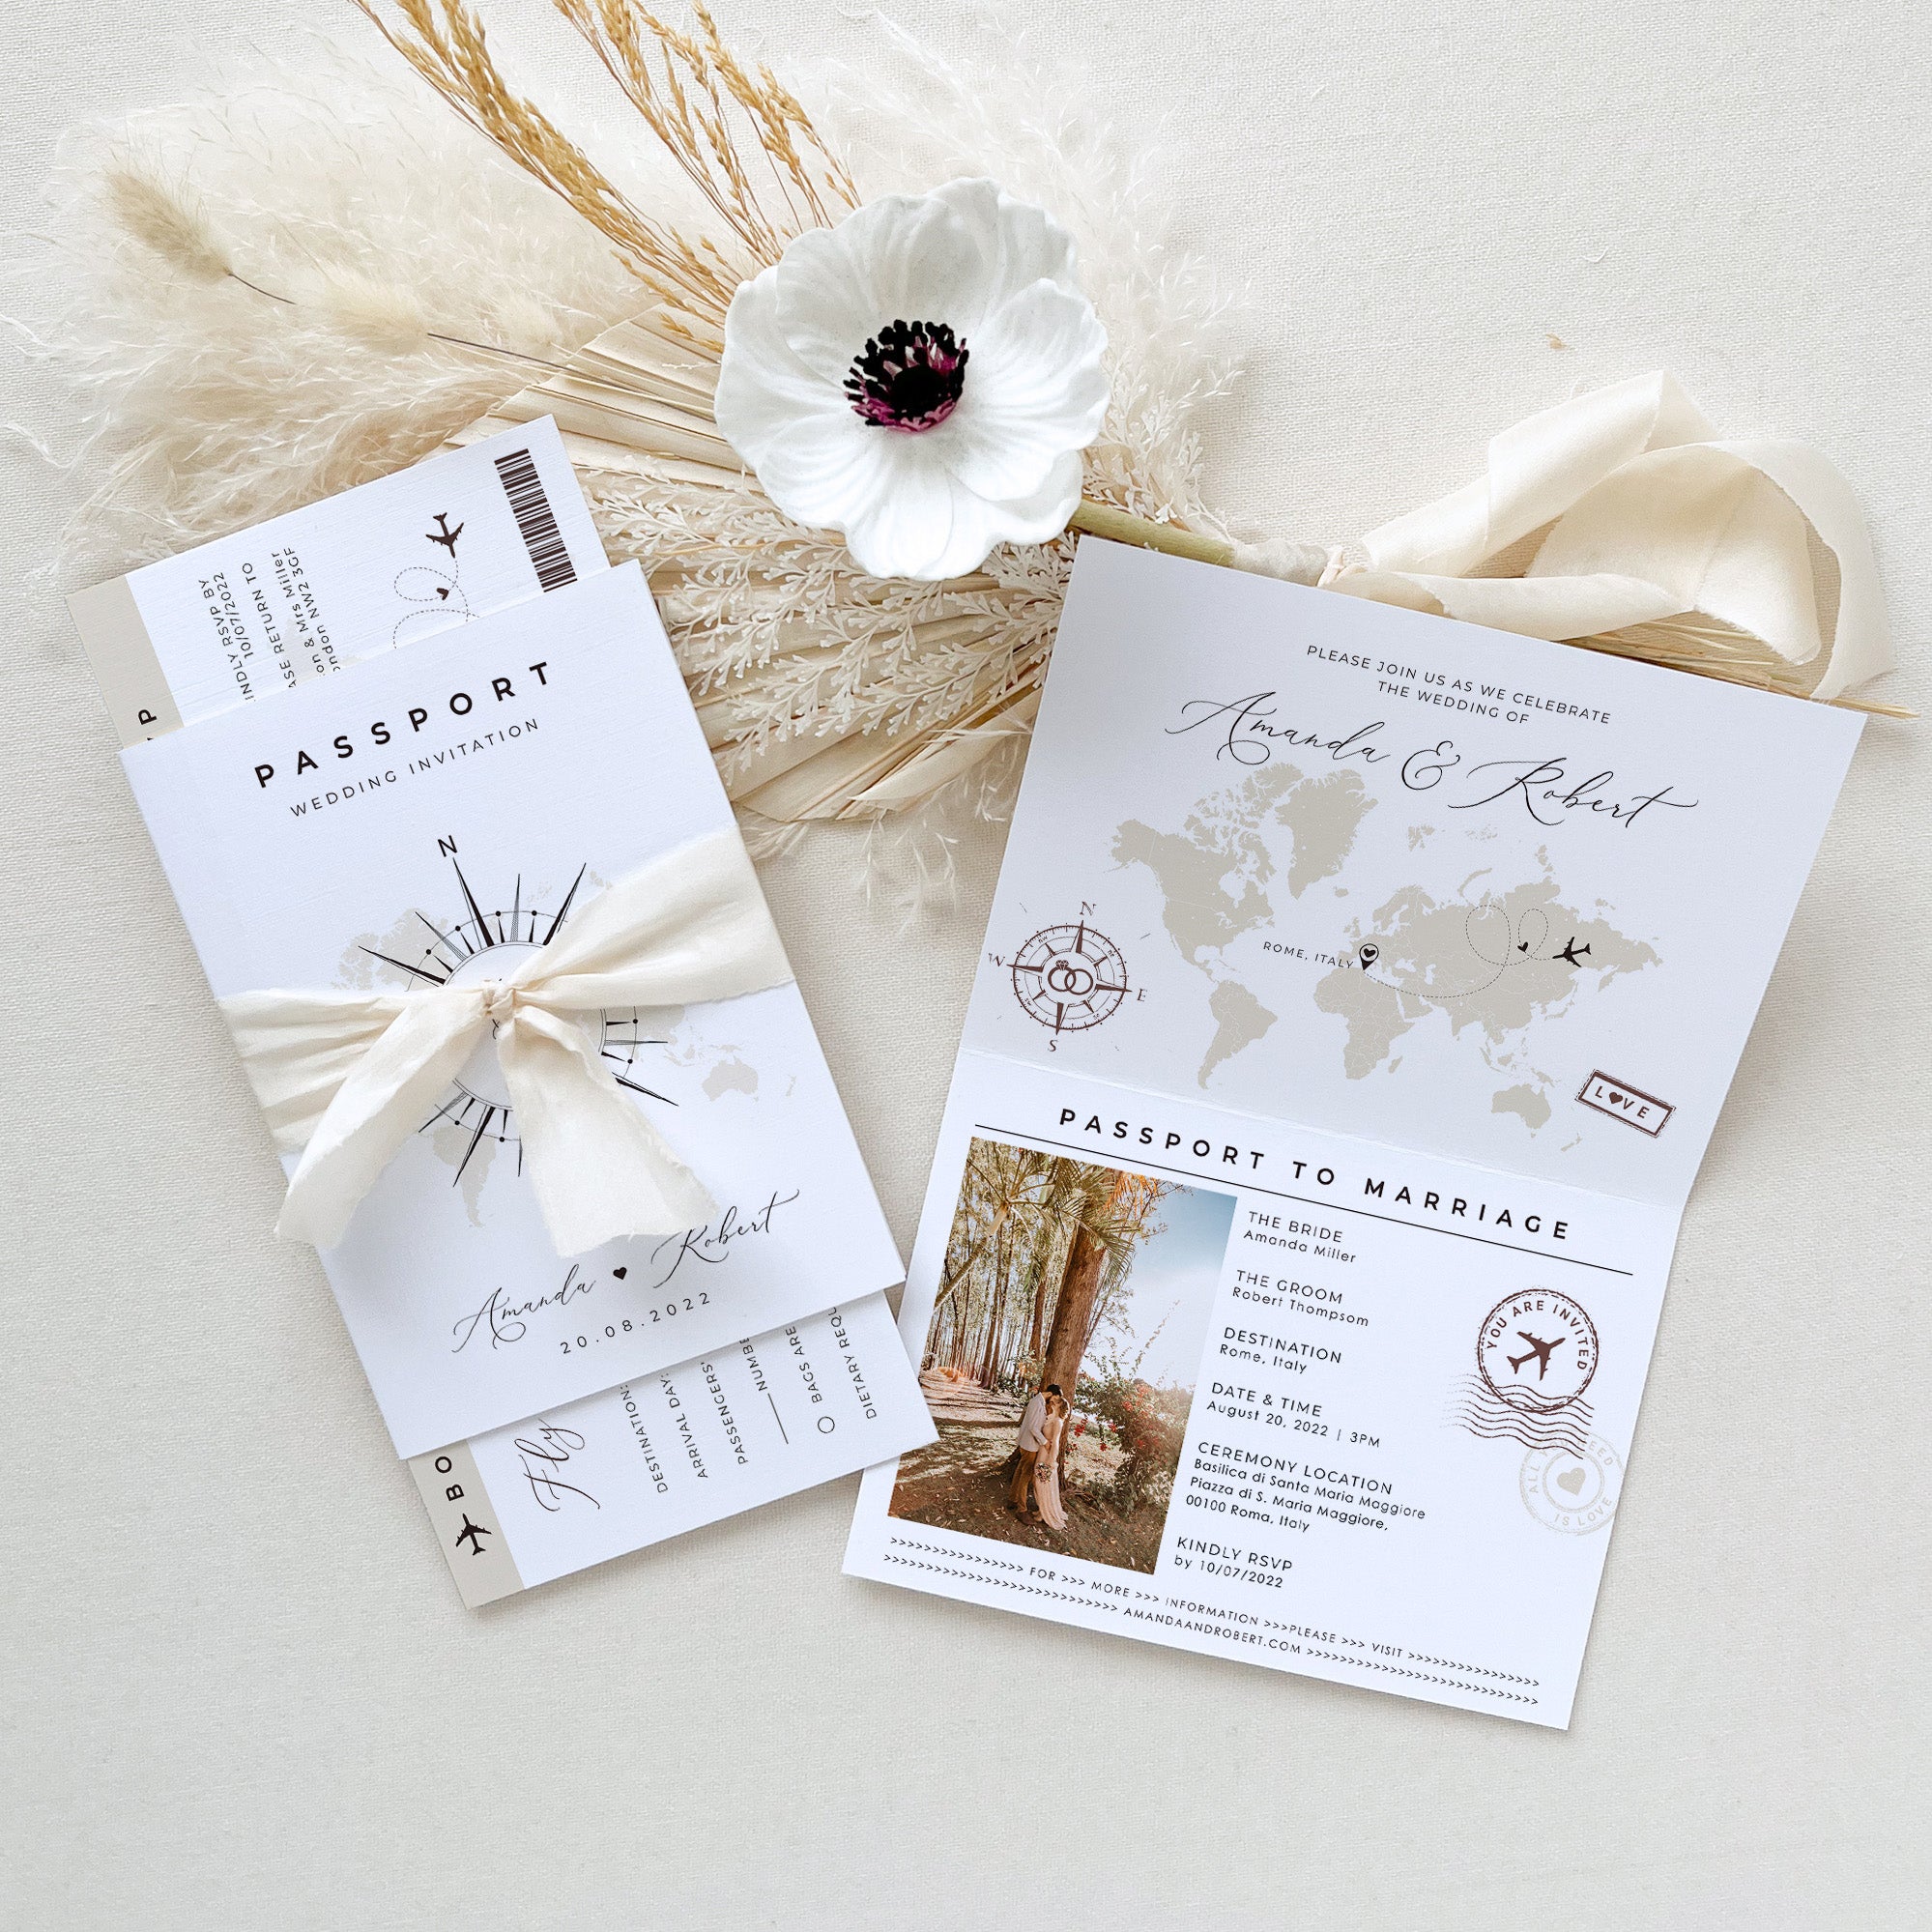
Step 6: Assemble Your Invitations
The last step is to assemble your invitations! Insert the details card and boarding pass RSVP Card inside the passport. Finally, tie everything together with a satin ribbon.
Insert the invite inside the envelope.
To add an extra touch to your invitations, you can print the address on each envelope using our Sofia envelope addressing template, which features the same travel theme map as the invite.
Step 6: Send Out Your Invitations
And that's it! You have just created beautiful passport wedding invitations for your destination wedding. Now, all you need is to send them out to family and friends so they can get ready for your big day.
Email them 3-4 months before your wedding so that guests have plenty of time to book their trip and accommodation.
Now You Are Ready To Make Passport Wedding Invitations
We hope this guide has inspired you to create a unique invitation for your destination wedding. If you need help with the design or have any questions about our passport wedding invitations templates, don't hesitate to contact us! We are here to ensure your invitation is perfect for your special day.
Frequently Asked Questions About Passport Wedding Invitations
1. What size do the passport wedding invitations come in?
This passport wedding invitation is available in EU/ AU size and US size.
EU/AU formats:
- Passport Invitation: A6 folded - 10.5 x 14.8 cm , A5 unfolded - A5 - 21 x 14.8 cm
- Details & order of the day timeline: A6 - 10.5 x 14.8 cm
- Boarding Pass RSVP: 21 x 9.9 cm (with addressed backside for easy, no envelope shipping)
US formats (inch):
- Passport Invitation - 3.5 x 5" when folded, 7 x 5" unfolded
- Details & order of the day timeline - 3.5 x 5"
- Boarding Pass RSVP - 8.5 x 3.5" (with addressed backside for easy, no envelope shipping)
2. Which passport size will work best for me?
- If you are in the US and want to print with Prints of Love, you need to edit the template US size.
- If you’re in the UK and want to print with Printed.com or Vistaprint, select the EU/AU format.
- For any other countries, if printing from home, use the US size, but make sure to find the envelope that suits this size; in general, a DL-size envelope will work.
3. What dimensions should my envelope be to ensure it is the correct size?
- For the US formats, purchase #10 envelope (4.125 x 9.5. inches) OR A9
- For the EU formats, purchase a DL envelope
4. When I order my prints from Prints of Love, what type of printing finish should I select to ensure a high-quality product?
For the passport invitation, we recommend selecting Gloss finish as it provides a thick and reflective paper that will make your design pop. Note: Not recommended for cards that will be written on.
For the rsvp boarding pass card and for the details card, select Matt Finish for a smooth look.
5. If I print my invites from home, what type of paper should I purchase to ensure optimal results?
We recommend purchasing high-quality stock paper with a minimum weight of 100 lb or more. The heavier the paper, the better quality it will be. Before buying the paper, check your printer instructions to ensure it can handle heavy cardstock.


Comment
Can i ask what are you using to assemble the pages? Stapler? Thank you