
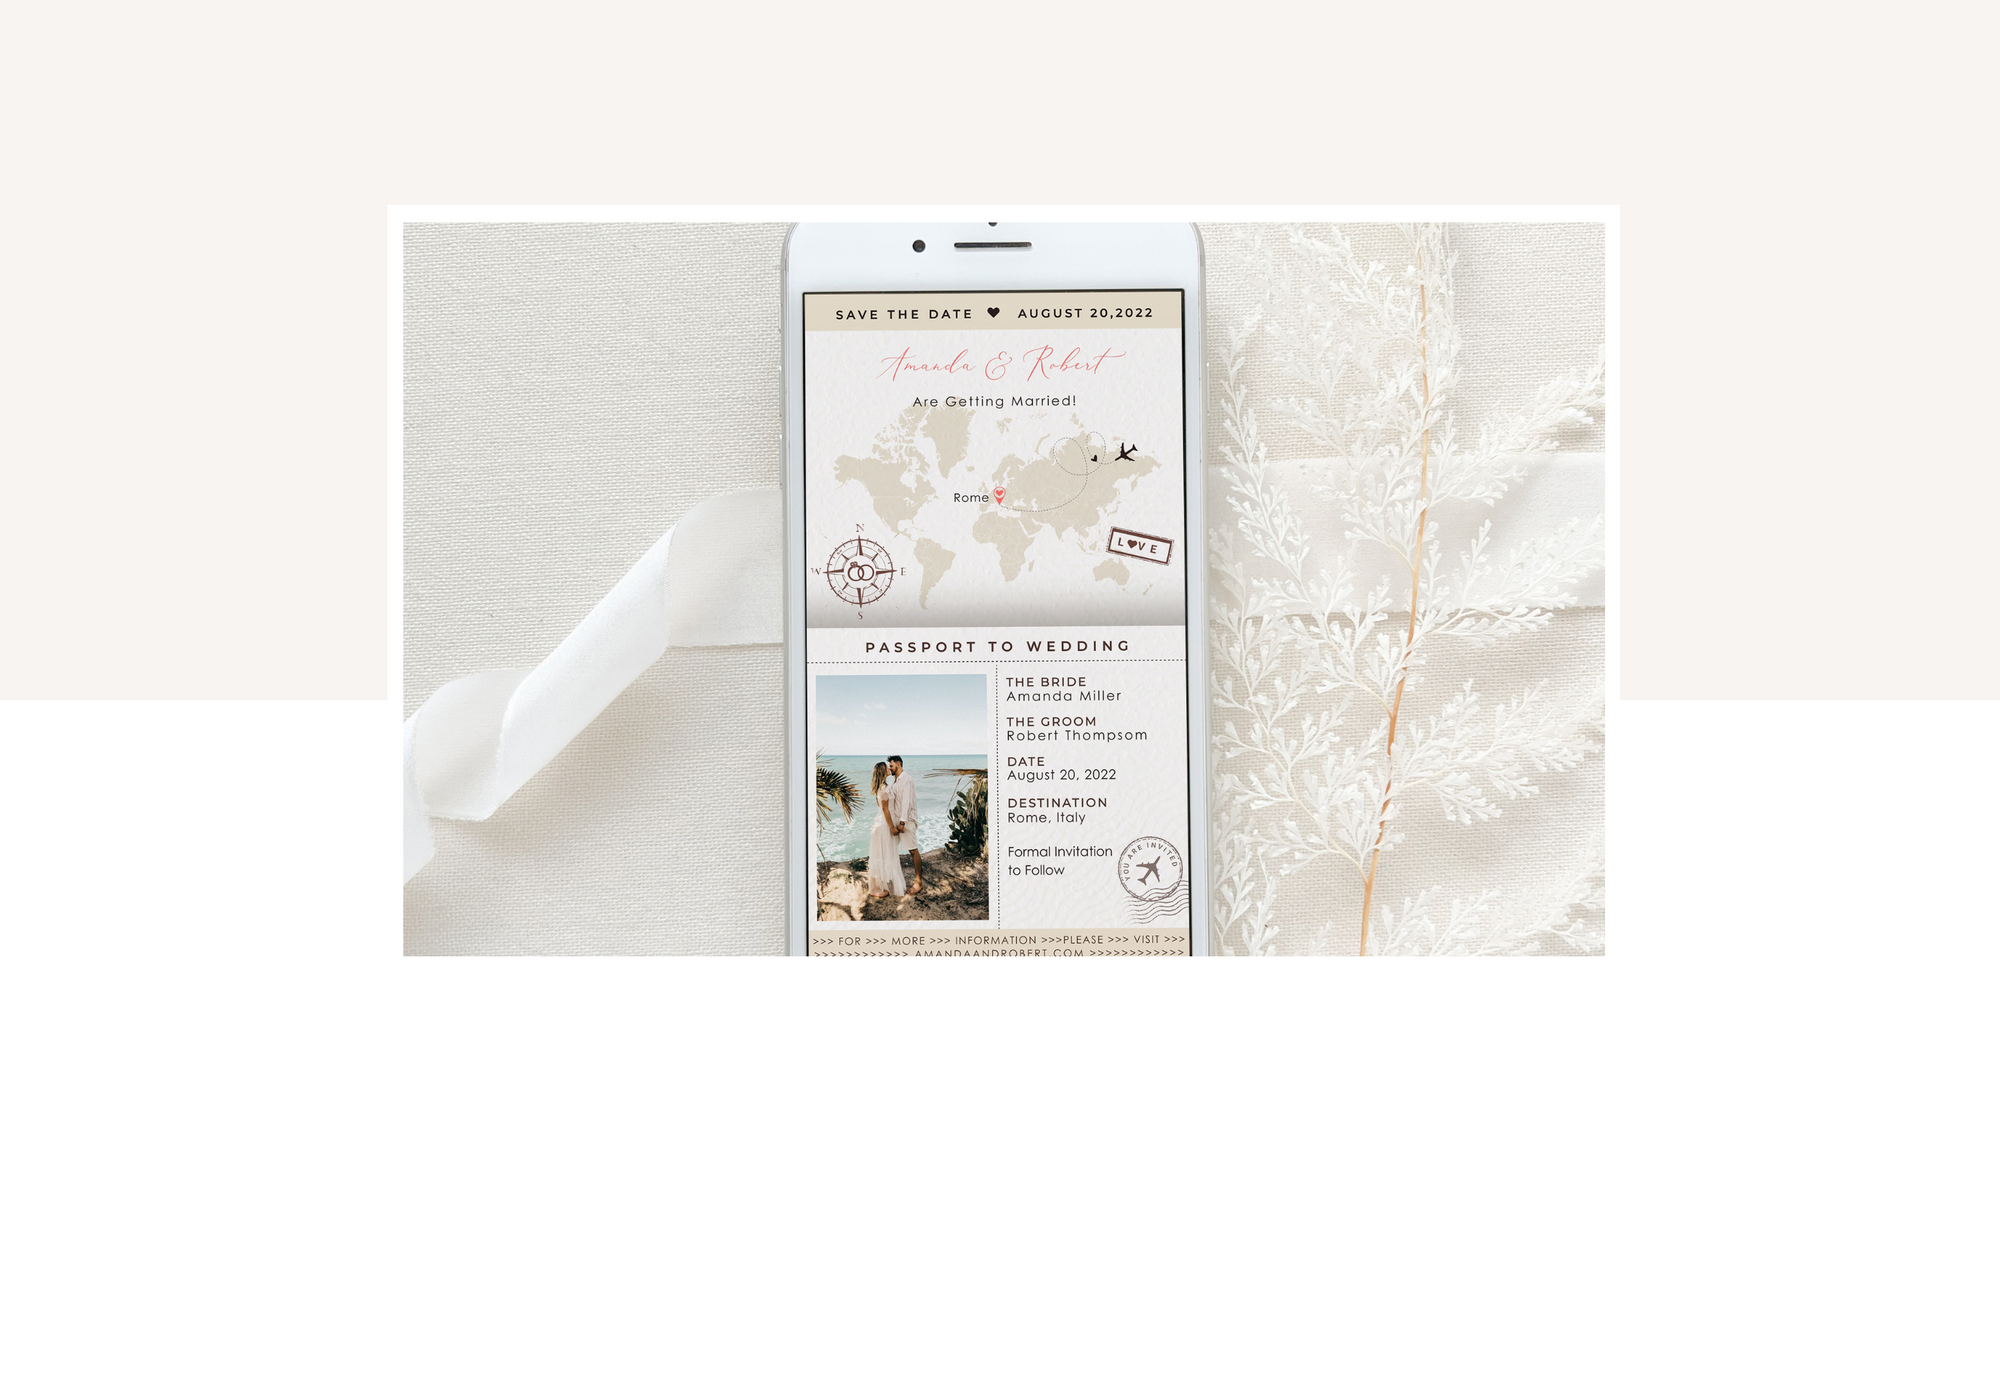
In this tutorial, I will provide you with a step-by-step guide on how to customize the Passport Digital Invitation from our destination wedding collection.
If you face any issues while editing our templates, please feel free to contact Marianna via email at orders@studiocreativethings.com and provide her with your order number.
1. Design Editor Overview
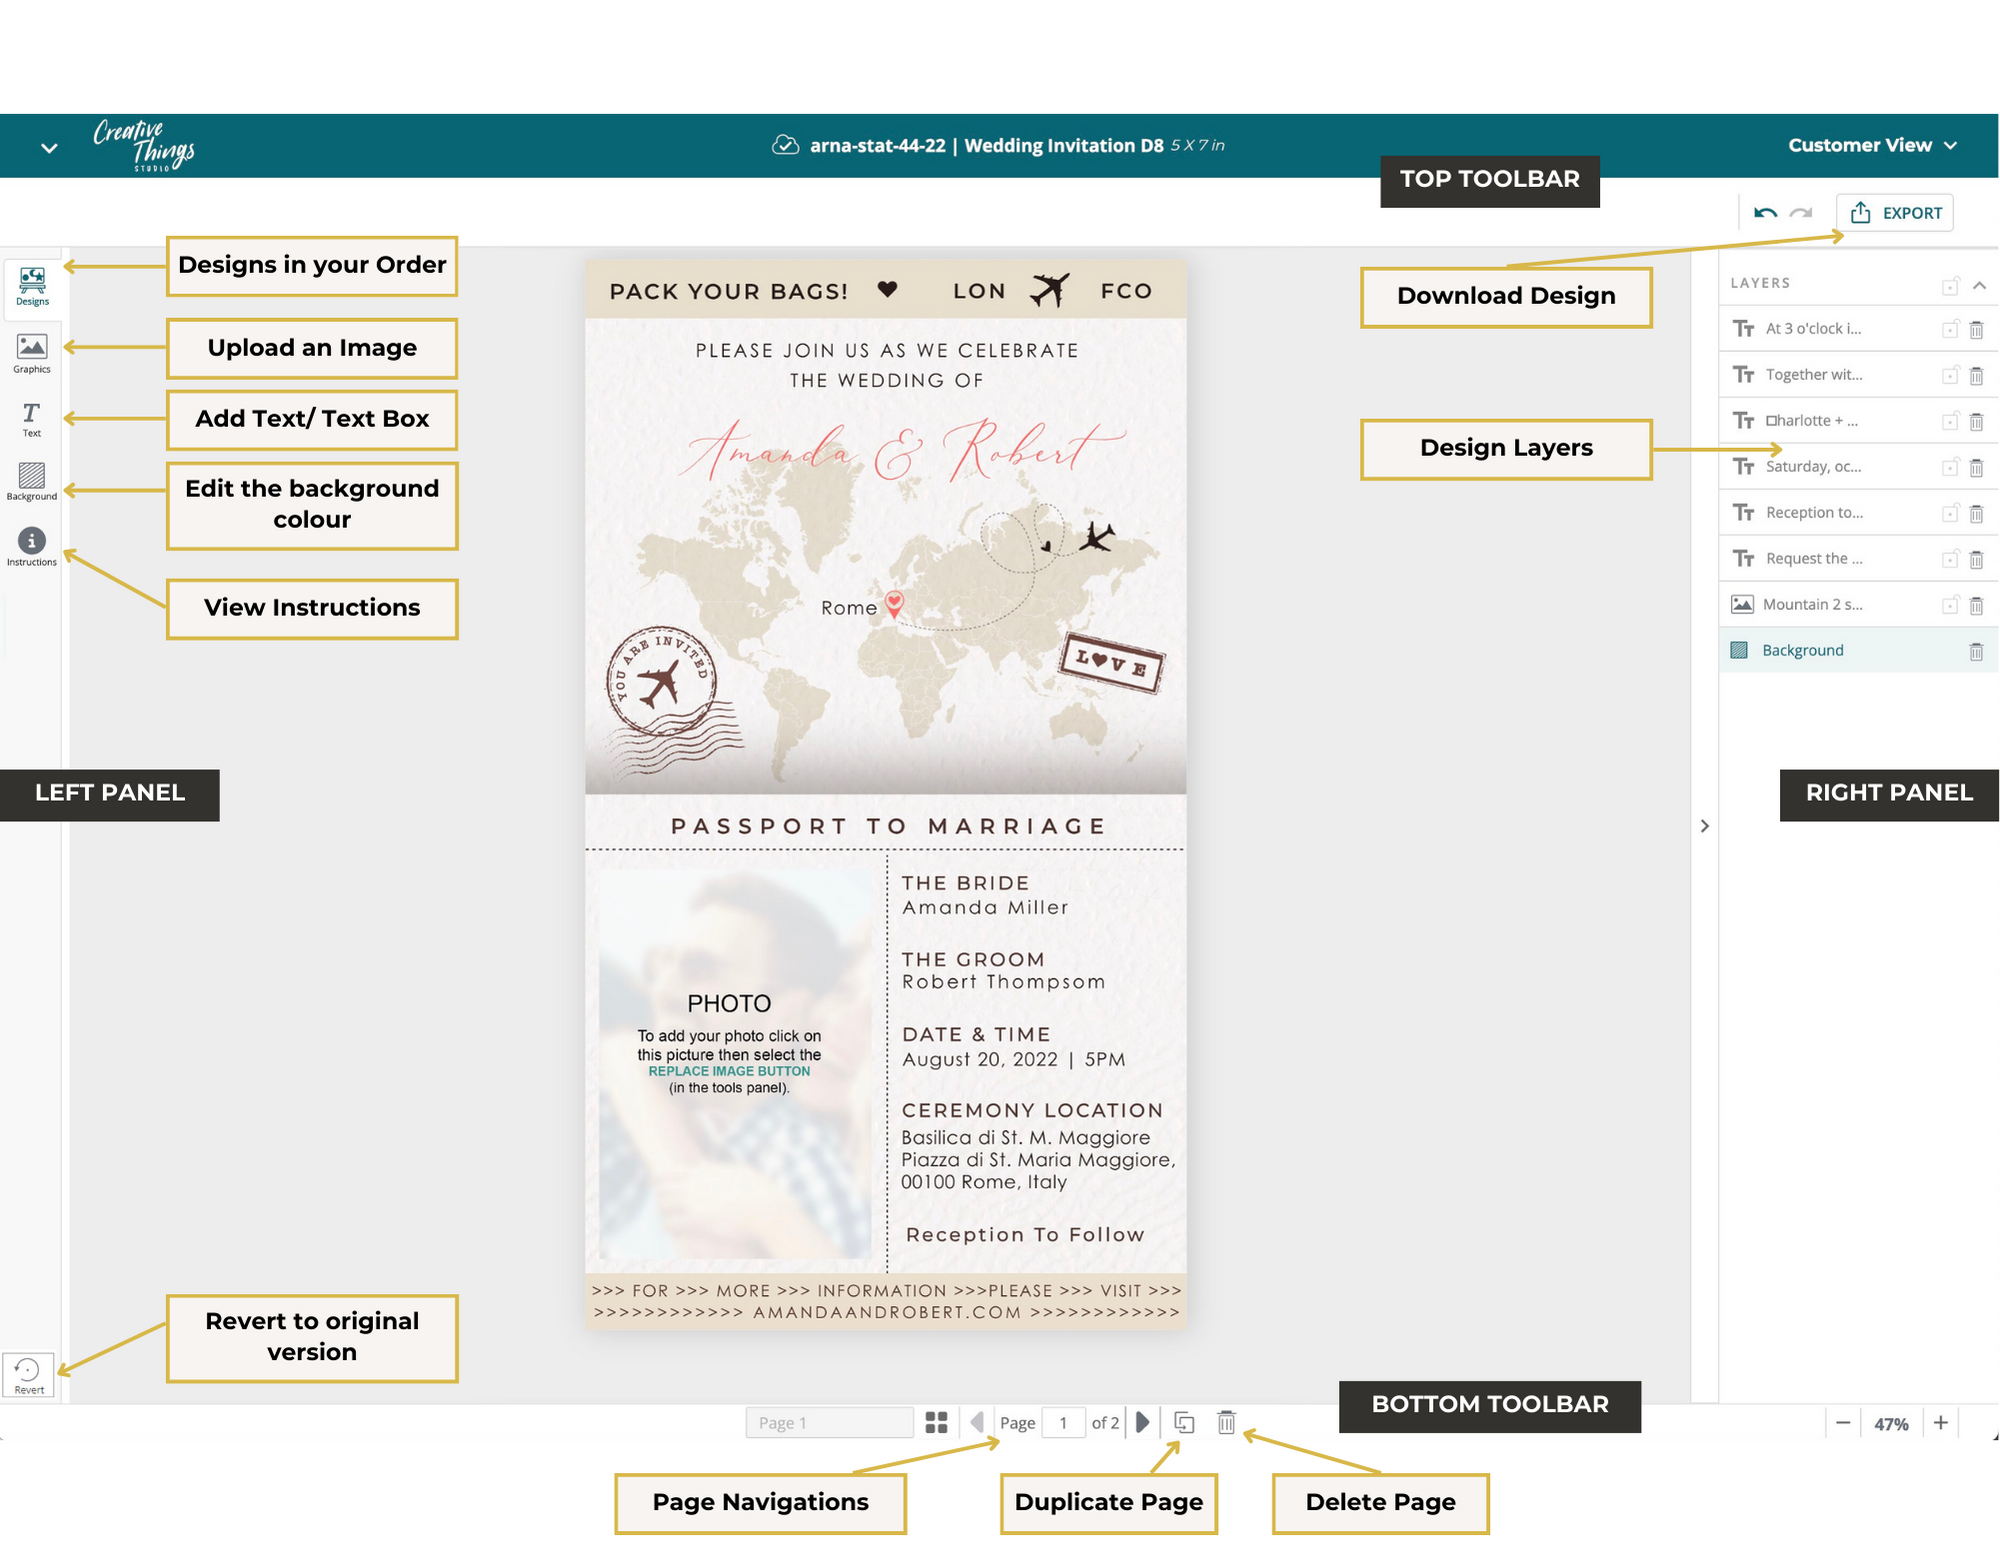
Click the Edit Design button to personalise your invite. To open the layer panel, click the arrow icon on the right.
If you’re new to Corjl, check out our Quickstart guide for a detailed explanation of how the Editor works.
2. How to replace the map in your design with a different map
- To remove the current map from your design, select the layer and press the delete key on your keyboard.
- Go to the maps template and select the country you want to copy. Right-click your mouse and choose the "Copy" option.
- Go back to your design, right-click your mouse again and choose the "Paste" option.
- In the layers panel, drag the map layer down so that it's below any other text or images that are on top (the map should be just above the background layer).
Use this same method to add more stamps or insert different plane in your design.
3. How to change the colour of the plane, stamps and other elements.
- Select the map, stamps or any clipart in the design
- In the top toolbar, select the "colours icon" to open the colour editing panel
- Click on the colour block and select a new colour
Please Note! If you want to save this new colour for later use, click “Add colour”.
- To change the color of the rectangular shapes at the top and bottom of the boarding pass, select them on the canvas and click on the "style image" button.
- Click on "fill" and on the color block select a new color.
4. How to change the font and edit your text
- To change the font in your design, select the text and choose a font from the typography drop-down menu.
- Double-click directly on the text you want to change to edit. You can also edit text by selecting it, and then typing in the text editor box located in the Right Panel (above the Layers area).
- Duplicate any text box by using the keyboard shortcut Ctrl+D (Windows) / Command+D (Mac).
5. How to download your Digital Invite in JPEG, PNG or PDF
When downloading your design in JPEG or PNG format, please note that if your digital invite has multiple cards, each card will be downloaded individually. You can use this method if you want to send the RSVP card along with your main invite, so that your guests can edit the RSVP card in their photo app on their phone or in WhatsApp.
Invites saved in JPEG and PNG formats can be shared via email, text messages, WhatsApp, and social media.
When you download your invite design in PDF format, you can get all the cards in a single file if your invite has multiple cards. This is useful if you plan to share your invite via email or WhatsApp, and want to send all the cards in one unit. However, please note that PDF files are not supported for sharing on text messages or social media platforms.
5.1 Download a digital invite in JPG or PNG

|
Click on Export < Download
|
5.2 Download a digital invite in PDF

|
Click on Export < Download
|
6. How to contact our support team
For support with this template, email Marianna at orders@studiocreativethings.com. Please make sure to provide your order number and clearly specify the issue you are having with your design.


