| Looking for the perfect wedding program fan for your big day? This guide covers how to make your own diy wedding program fans using printable templates, what to include in your ceremony programs, and where to find the best designs—ideal for outdoor or beach weddings. |
It’s your wedding day. The sky is clear, the chairs are set, the aisle is calling your name—and the sun? The sun has decided to attend your ceremony in full, blazing glory.
Guests are improvising. One is using the ceremony program as a fan. Another is flapping the menu like their life depends on it. Your great aunt pulls out a notebook and starts waving like she’s in a one-woman performance of “Survivor: Outdoor Ceremony Edition.”
Let’s not.
Enter: the wedding program fan. Stylish, practical, and slightly genius. It tells guests what’s happening, keeps them from melting, and adds a polished detail to your ceremony setup. Whether you're hosting a beachside soirée or a backyard celebration under the sun, this is one of those small additions that quietly saves the day.
Even better? You can DIY them. Yep—easily. All you need is an editable template, a few supplies, and a sprinkle of patience. Let’s make it happen.

What Is a Wedding Program Fan—and What Should It Include?
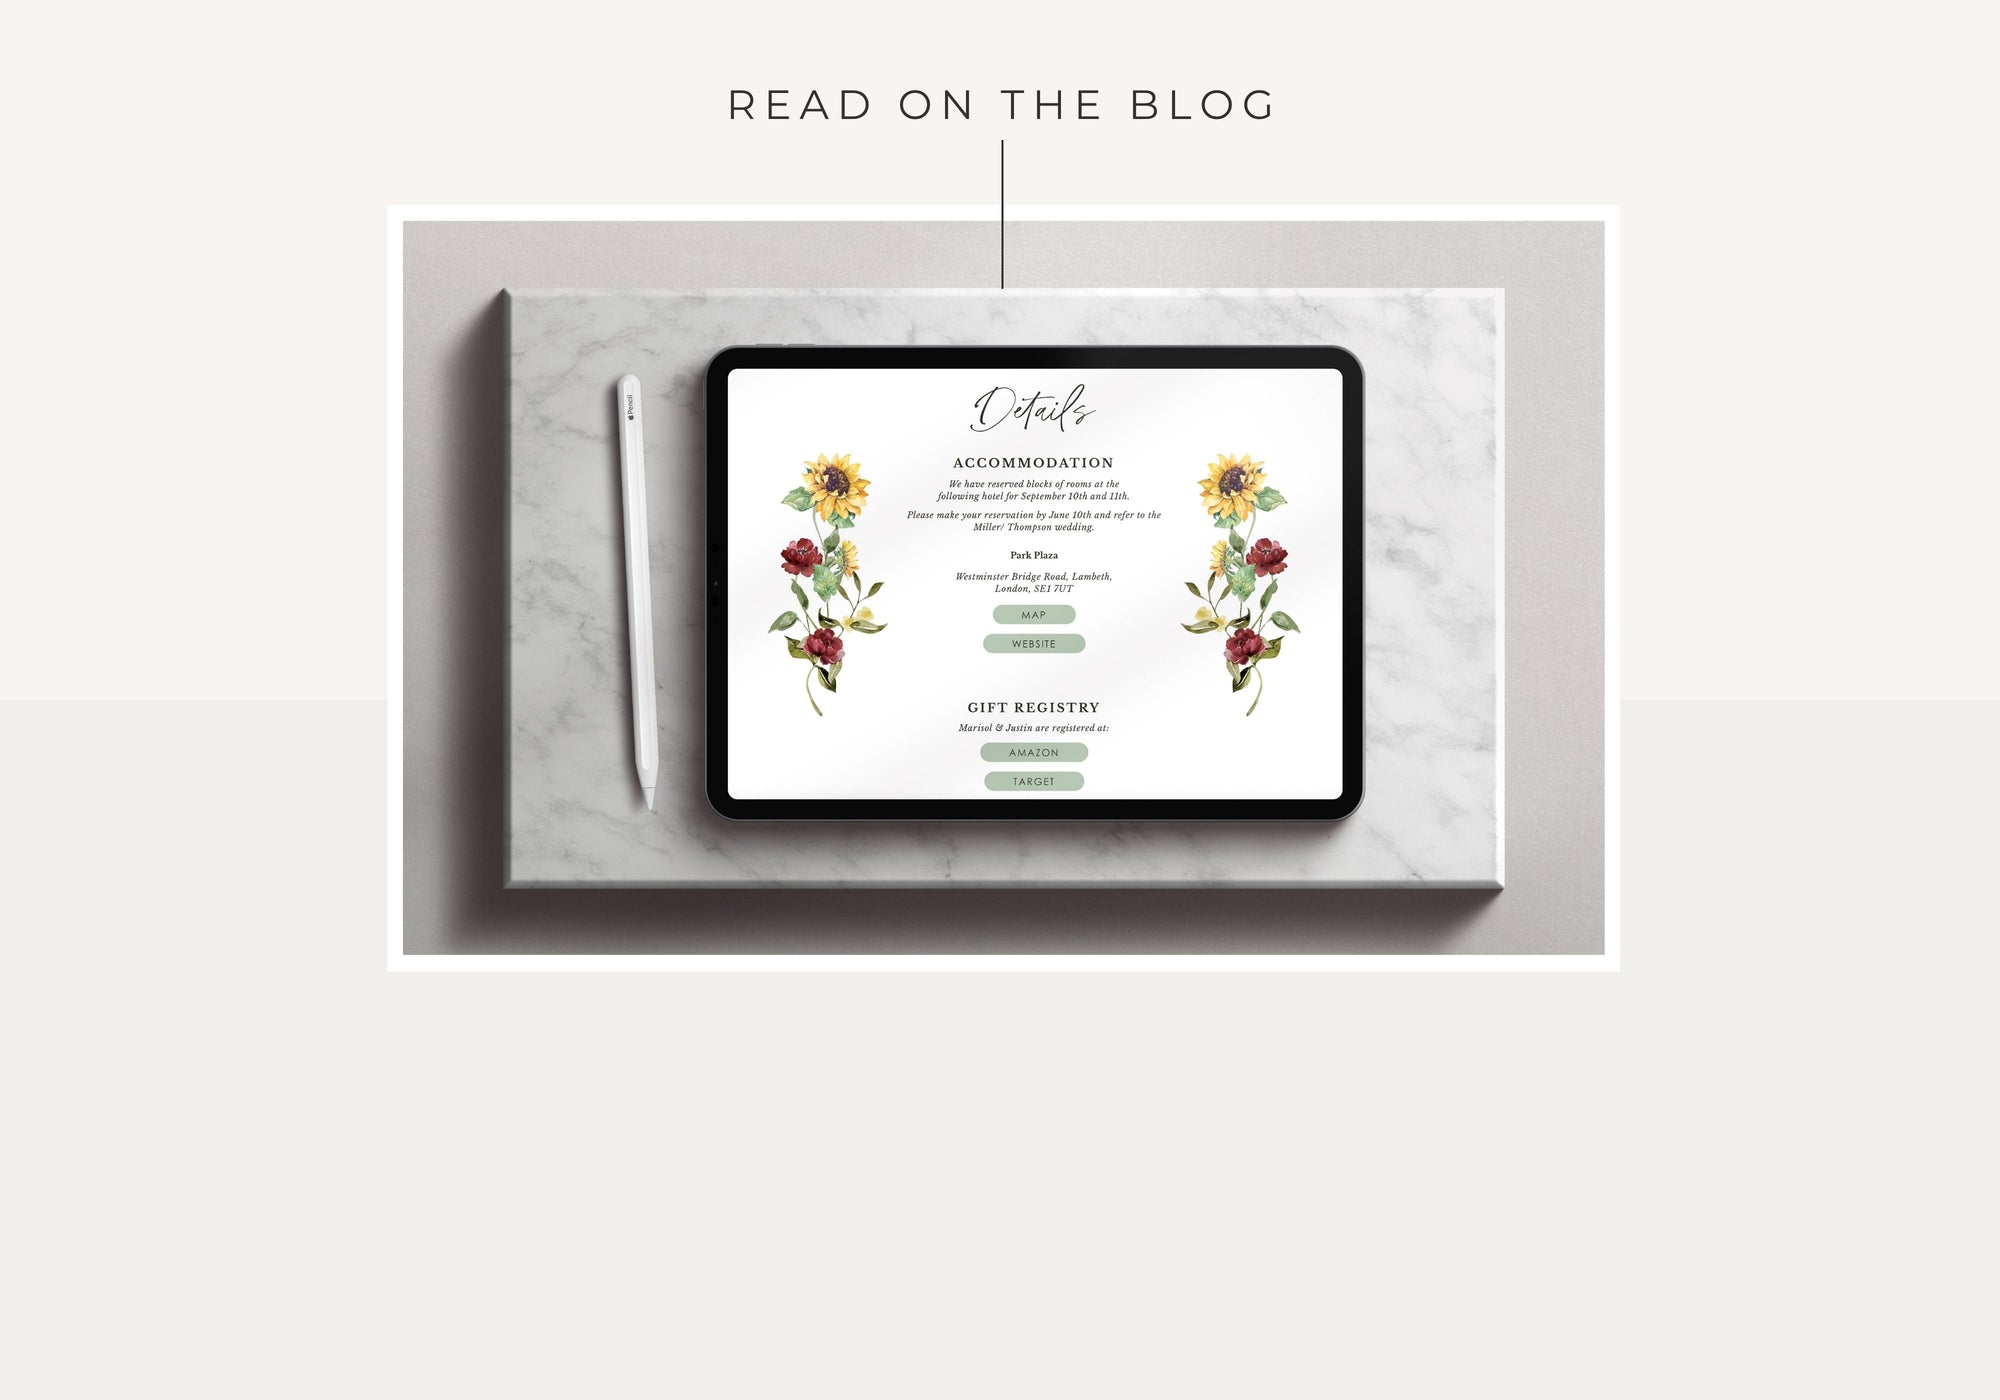
A wedding program fan is exactly what it sounds like: your ceremony program printed on a fan-shaped card, usually 5x7 inches, mounted on a wooden handle. Guests can follow along and stay cool—without using their shoes or whatever’s in their handbag.
Here’s what to include on your fan:
- Your names (so people stop asking which one is the groom’s cousin)
- Wedding date and location
- Order of events for the ceremony
- Names of your bridal party
- Officiant, readers, or any musical performers
- A thank-you message or short note to your guests
- Optional: a favorite quote, memory, or “in memory of” tribute
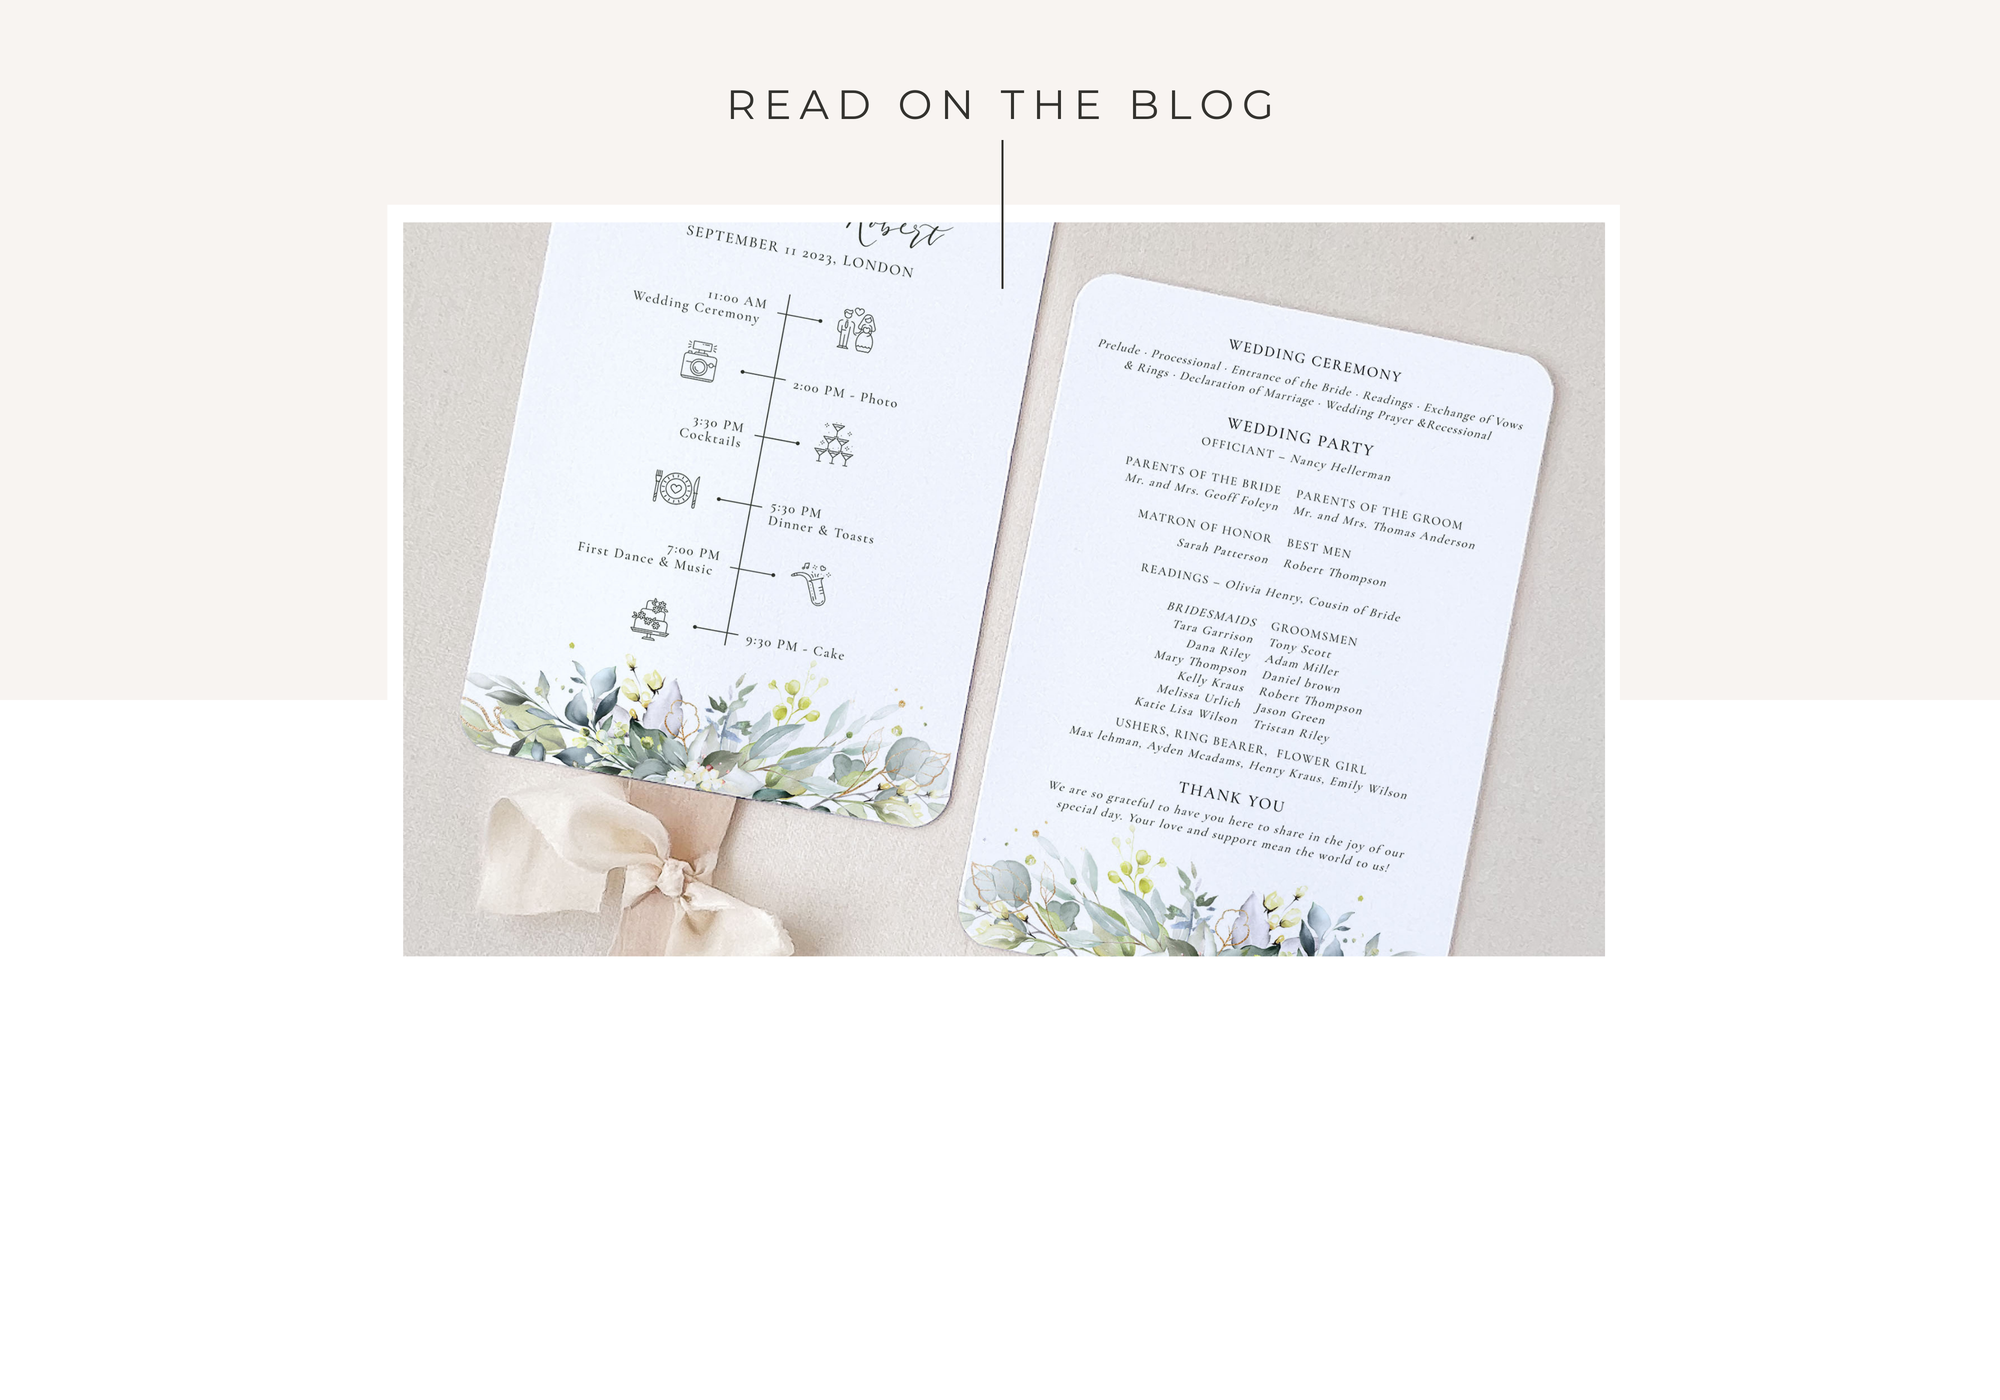
Bonus: Most templates include a visual timeline with icons—easy to read, easy to love.

What You’ll Need to Make DIY Wedding Program Fans
A. Editable Wedding Program Fan Templates
Start with a template that’s made for this project—something editable, wedding-friendly, and built for double-sided printing.
Look for templates that are:
- Editable in Corjl (no downloads or design software required)
- Sized at 5x7 inches
- Compatible with US Letter and A4 paper
- Designed with both front and back layouts for a polished look
Includes a quick-start Corjl tutorial so you can jump in confidently—even if you’ve never designed anything before.
Browse Wedding Program Fan Templates
B. Supplies Checklist
You don’t need a craft room or a Cricut army—just a few simple supplies:
- Heavy cardstock (80–110 lb)
- Wooden fan handles sticks or wooden craft sticks
- Double-sided tape or an adhesive runner (no hot glue unless you enjoy mess and regret)
- Craft knife
- A3 cutting mat
- Metal ruler
- Corner rounder punch
- Silk ribbon or chiffon ribbon (optional but very charming)
- Hole punch (if tying tags or decorative details)
How to Make DIY Wedding Program Fans: Step-by-Step
Step 1: Customize Your Template in Corjl
Once you’ve purchased your template, you’ll have access to two different file formats—both included in your order, so you can choose what works best for your setup.
Here’s what you get:
- A 5x7 inch front and back design – Ideal for professional printing, especially if your printer prefers separate files for each side of the fan
- A 10x7 inch folded card layout – Perfect for home printing, where both sides are printed on a single sheet and folded down the middle
Inside Corjl (your easy-to-use online editor), you can:
- Add your names, wedding date, icons, and any special notes you want to include
- Switch up fonts and colors to match your wedding day aesthetic
- Preview your design before you download—so there are no surprises when it hits the paper
If you’re printing at home:
- Use the 10x7 inch folded version
- Download as a PDF
- Turn on trim marks and bleed for precise cutting
- Choose A4 or US Letter paper depending on your region
No design experience? No worries. A quick Corjl walkthrough is included with your template so you can get started confidently—no guesswork, no tech stress.
Step 2: Print on Heavy Cardstock
This is the moment your design comes to life—and with the right setup, it’s a pretty smooth process.
You have two options:
- Print at home – Great for smaller batches or if you’re working on a cozy timeline
- Use a professional printer – Ideal for larger quantities, specialty finishes, or if you’d rather skip the whole at-home printer juggling act.
A few printing tips to make things easier:
- Use sturdy cardstock—between 80 to 110 lb—for a fan that feels substantial and holds up in warm weather
- Set your print scale to 100% or “Actual Size” so nothing shrinks or stretches
- Match your printer settings to the paper size you selected in Corjl (A4 or US Letter)
If you’re going for a softer look, kraft paper or light pastel cardstock works beautifully—especially for outdoor or beach weddings.
Before you commit to printing them all: run one test print first. It’s a quick check that can save you from reprinting the whole batch later.
Step 3: Cut, Fold, and Assemble
Trim your printed design into 10x7 inch rectangles, which fold down to 5x7 for a finished, double-sided fan.
- Use a craft knife and metal ruler (scissors can get a little wild)
- Fold the card in half, lining up the edges carefully
- Round the corners on the open side for a clean, professional finish
- Apply adhesive along the inside edges
- Insert your wooden handle halfway up the fold
- Press the sides together, sealing the stick in place
Let your assembled fans sit under a heavy book for a few minutes. It’s like a spa day for paper—presses out any air pockets and keeps things neat.
Step 4: Decorate and Personalize
Here’s where you can let your creativity take over. Consider:
- A ribbon tied around the handle
- A name tag for double-duty as an escort card
- A sprig of dried lavender or rosemary
- A wax seal for vintage flair
- A light mist of essential oil for a scented breeze
Totally optional—but totally worth it.

Photo by Rachel Whyte Photography
How to Display Your Wedding Program Fans
Display them in a way that feels intentional, not like you tossed them in a pile on your way to get ready.
Ideas include:
- One on each ceremony chair
- Neatly arranged in a woven basket, tray, or wooden crate
- Clipped to twine with mini clothespins
- Pinned to a macramé hanger, vintage mirror, or display board
- Propped on a pegboard or clear acrylic stand
If you’re outdoors, make sure they’re secure—you don’t want to watch 75 fans scatter like confetti in the wind.
Where to Find Printable Wedding Program Fan Templates
Our curated templates are made with real couples (and real timelines) in mind.
What’s included:
- 5x7 inch format (with separate front and back), 10 x 7 inch foldable layout (with front and back on the same sheet).
- Editable in Corjl (on desktop or mobile)
- Print at home or through a professional printer
- Clean modern designs with timeline icons
- Matching day-of stationery available (like menus, place cards, and table numbers)
Browse Wedding Program Fan Templates

Pro Tips for Fan-Making Success
- Always print a test copy before going all-in
- Make a few extras—10 to 15 is usually safe
- Assign someone to lay them out before the ceremony starts
- Stick with readable fonts (your guests’ sunglasses aren’t magnifying glasses)
- Batch the process: cut everything at once, then fold, assemble, and decorate in stages
Want to save this DIY for later (and make the whole process even easier)?
I’ve put together a free Printable PDF Guide with everything you need to create your own wedding program fans—complete with a supply checklist, step-by-step instructions, editing tips, and display ideas.
✨ It’s perfect if you want to keep everything in one place while you work on your fans—or if you’re more of a visual learner!
Pop your email below and I’ll send it straight to your inbox!
Final Thoughts: Pretty, Practical, and Guest-Approved
Wedding program fans are a tiny detail that delivers big impact. Not only do they give guests all the info they need, but they keep everyone cool, calm, and collected—even in the summer heat.
They’re a breeze (pun absolutely intended) to make with editable templates, some basic supplies, and a little DIY magic. Whether you're going for elegant, earthy, or coastal, this is one project that's both Pinterest-worthy and super practical.
Ready to create your own? Shop editable templates and start crafting your perfect wedding program fans today.
And if your aunt still pulls out a notebook to fan herself? Well… at least you tried.